Table of Contents
User Profile & Logbook
How to keep your profile up to date and use your personal logbook to track your clinical activity across all teams.
User Profile & Logbook
Your profile holds your personal account details, and your logbook gives you a live statistical picture of your clinical activity — across every team you belong to.
Overview
Your profile is where you manage the basics: your name, email address, phone number, and profile photo. It's also where you configure account security settings such as your password and two-factor authentication (2FA).
The logbook is a personal dashboard that automatically tallies your clinical experience — jobs attended, patients treated, patients conveyed to hospital, and more — based on the jobs you've been crewed on across all your teams. There's nothing to fill in manually; it updates itself as jobs are completed.
Both are accessed from the sidebar navigation and are specific to you as an individual user, not to any particular team.
Before You Start
- You must be logged in to access your profile and logbook.
- Your logbook data is drawn from jobs where you appear as a crew member. If you're not seeing activity you'd expect, check with your team administrator that you were added to the relevant crews.
Your Profile
Accessing Your Profile
-
Click your profile photo or name in the main navigation, then select Profile from the dropdown.
Alternatively, in the sidebar navigation, click Profile (shown with a person icon).
You'll land on the Profile page, which is divided into several sections.
Updating Your Profile Information
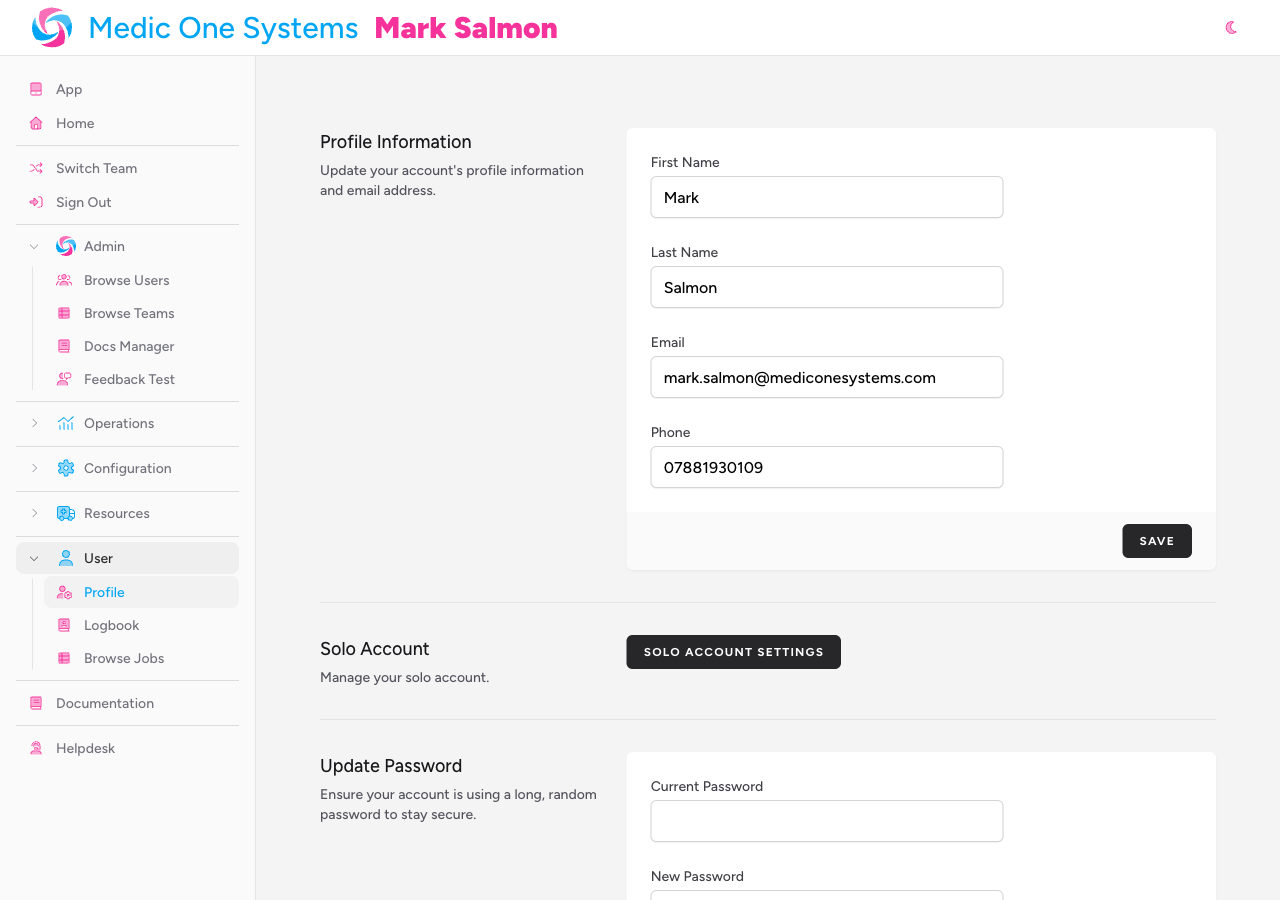
The Profile Information section at the top of the page is where you update your personal details.
-
Profile photo — click Select A New Photo to upload an image from your device. A preview of your new photo appears immediately. To revert to the default, click Remove Photo (this button only appears if you've previously set a custom photo).
-
First Name — required. Your given name.
-
Last Name — required. Your family name.
-
Email — required. This is the email address you use to log in. If you change it, you may need to verify the new address before you can continue using the app.
-
Phone — optional. Your phone number. This is used if you configure two-factor authentication to deliver codes by SMS — see Two-Factor Authentication below.
-
Click Save when you're done.
A Saved. confirmation appears briefly next to the button.
If you change your email address and the app requires email verification, you'll see a prompt on this page. Click Click here to re-send the verification email if you don't receive the verification email within a few minutes.
Updating Your Password
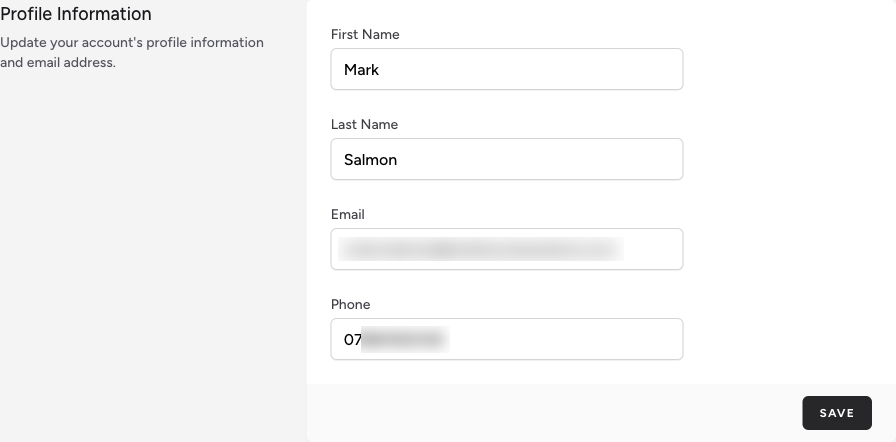
Scroll down to the Update Password section.
- Enter your Current Password.
- Enter your New Password.
- Re-enter it in Confirm Password.
- Click Save.
Use a long, unique password that you don't use anywhere else. A password manager is the easiest way to keep track of a strong password.
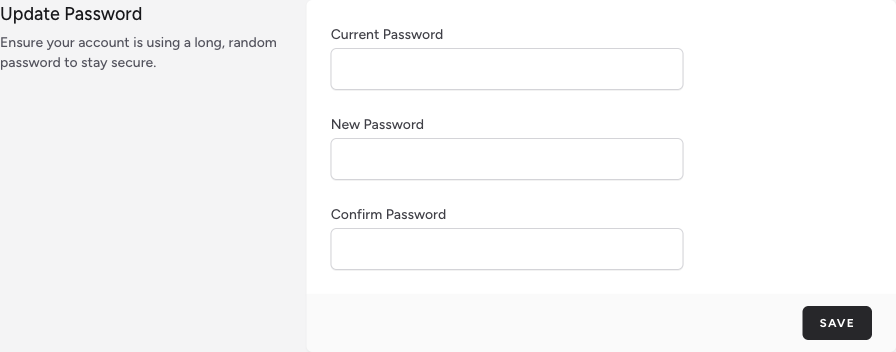
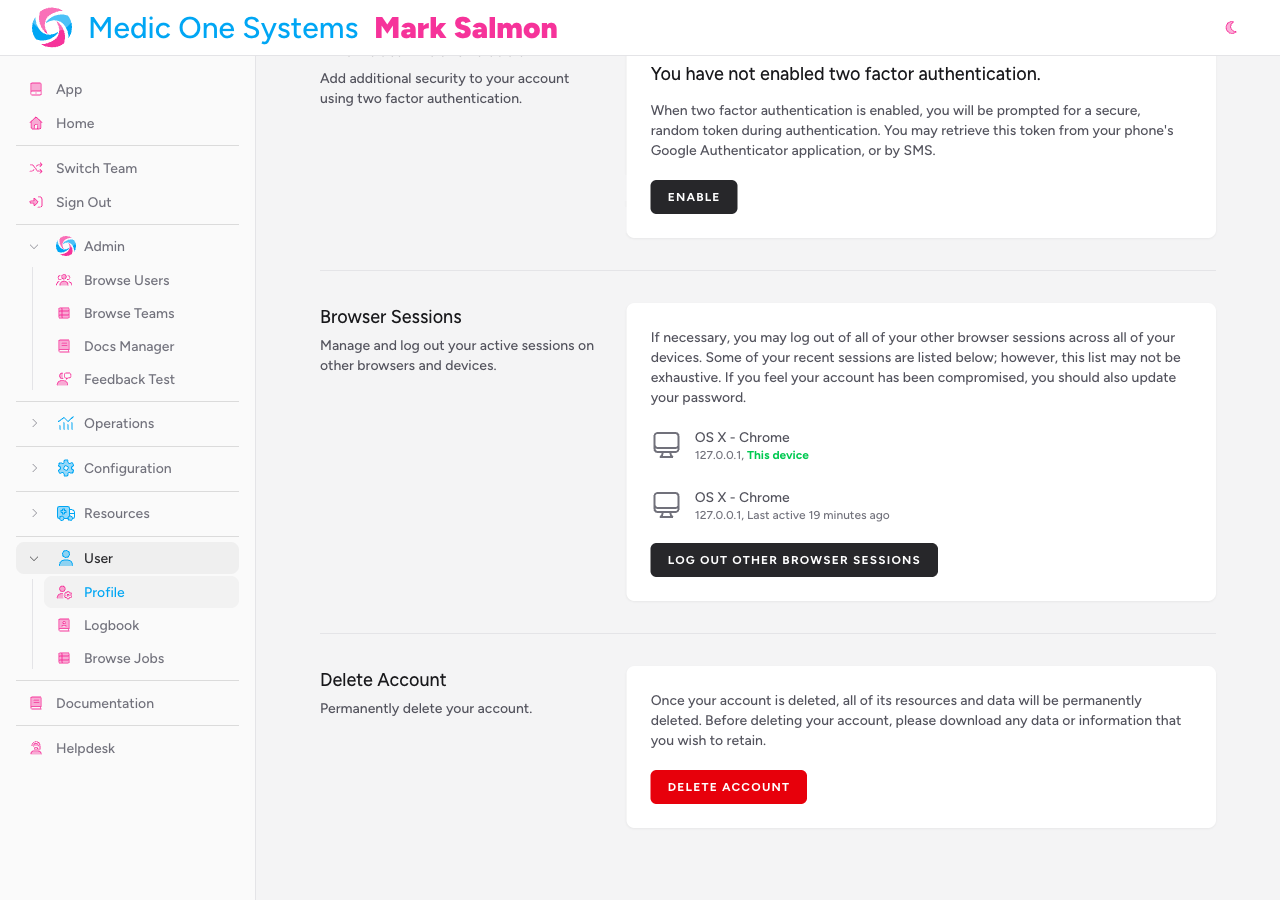
Two-Factor Authentication
The Two Factor Authentication section lets you add an extra layer of security to your login. When 2FA is enabled, you'll be asked for a time-sensitive code at each login — in addition to your password.
Some teams require 2FA to be enabled. If your team has this requirement and you haven't set it up, you'll be prompted automatically when you log in.
Enabling 2FA
-
Click Enable in the Two Factor Authentication section.
-
You'll be asked to confirm your password before proceeding.
-
Once confirmed, a QR code and setup key are displayed.
-
Choose how you want to receive your codes:
- Authenticator App — scan the QR code using an app such as Google Authenticator, Authy, or 1Password. The app will generate a fresh six-digit code every 30 seconds.
- Send to Phone — if you've added a phone number to your profile, click Send a code via SMS to receive a code by text message instead.
-
Enter the code in the Code field, then click Confirm to finish enabling 2FA.
-
Once confirmed, the app generates a set of recovery codes. Store these somewhere safe — a password manager is ideal. If you ever lose access to your authenticator app or phone number, these codes are the only way to regain access to your account.
Click Show Recovery Codes at any time to view them again. Click Regenerate Recovery Codes if you suspect your existing codes have been compromised — this invalidates the old set immediately.
Disabling 2FA
Click Disable in the Two Factor Authentication section, then confirm your password. 2FA is turned off immediately.
If your team requires 2FA, disabling it will prevent you from accessing the app until you re-enable it.
Browser Sessions
The Browser Sessions section lists the devices where your account is currently logged in. If you see a session you don't recognise, click Log Out Other Browser Sessions and confirm your password to immediately sign out all other sessions.
Your Logbook
Accessing Your Logbook
In the sidebar navigation, click Logbook (shown with a book icon, below the Profile link).
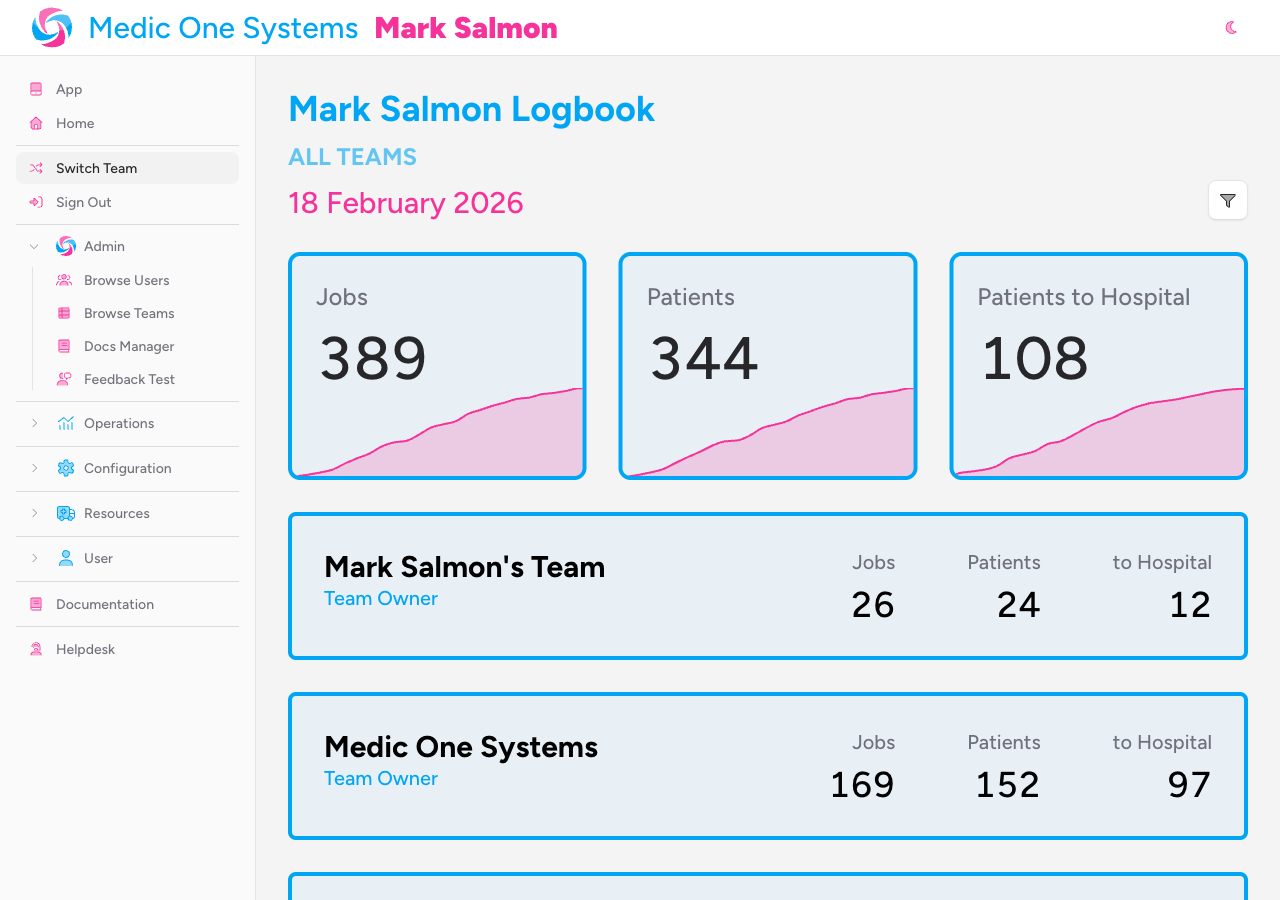
Your logbook loads immediately, showing your activity across all teams you belong to — from your earliest crewed job through to today.
What the Logbook Shows
Your logbook is a statistical summary of your personal clinical activity, built automatically from the jobs you've been crewed on.
Summary cards at the top of the page:
- Jobs — the total number of jobs you've been crewed on
- Patients — the total number of patients across those jobs
- Patients to Hospital — how many of those patients were conveyed to hospital
Each card includes a sparkline trend chart showing how your cumulative activity has built up over time.
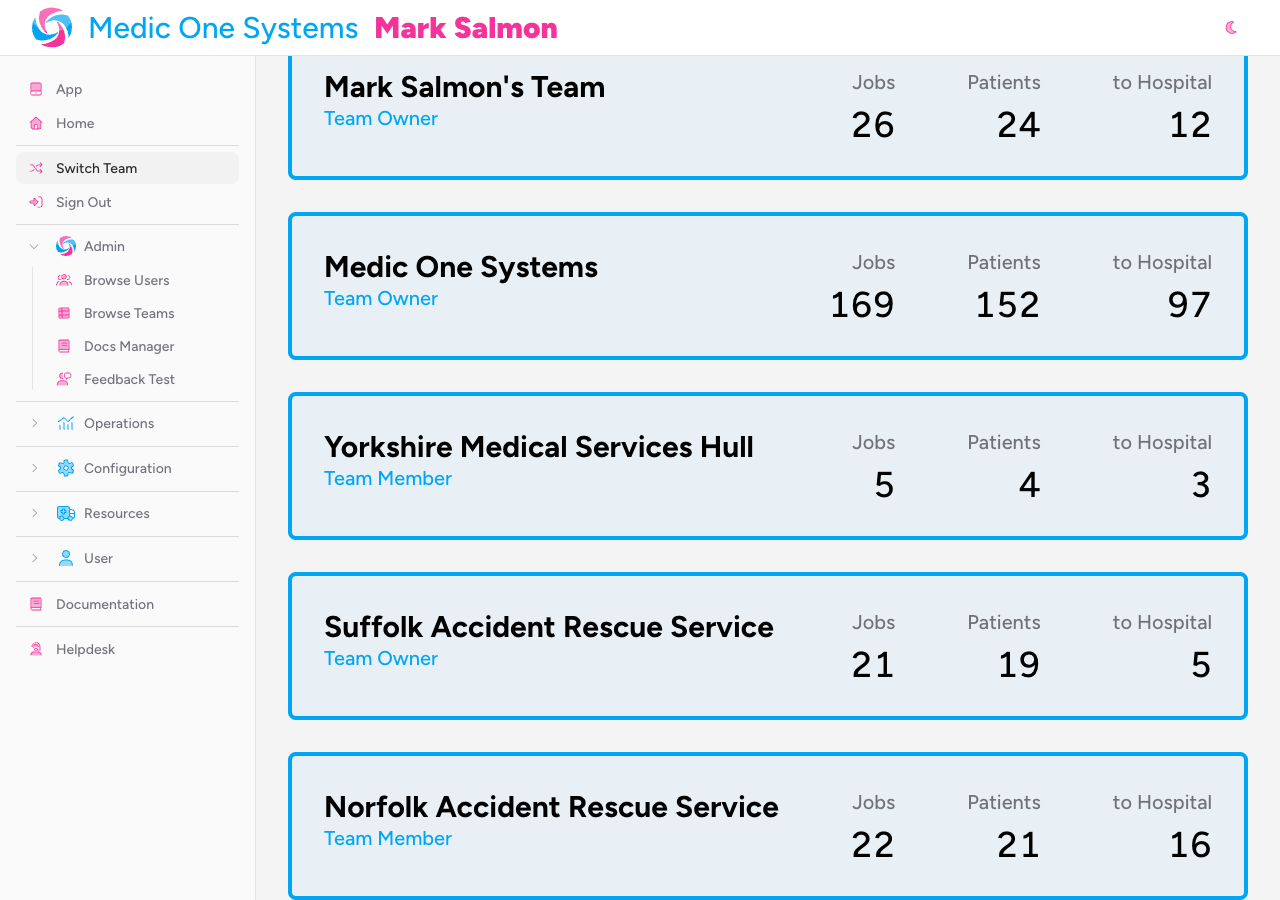
Team breakdown — if you belong to more than one team, each team is listed individually with its own jobs, patients, and patients to hospital counts. Your role on each team (team owner or team member) is noted alongside the team name.
Events table — every event where you were crewed on at least one job, showing the date, event name, team, and your job and patient counts for that event.
Patients by Type — a chart of your patients broken down by mechanism or incident type (the top 10 types).
Patients by Age & Gender — your patients grouped into decade age bands, split by gender.
Top 10 Interventions — the interventions you've performed most often, ranked by frequency.
Top 10 Drugs Given — the drugs administered to your patients most frequently, ranked by count.
Filtering Your Logbook
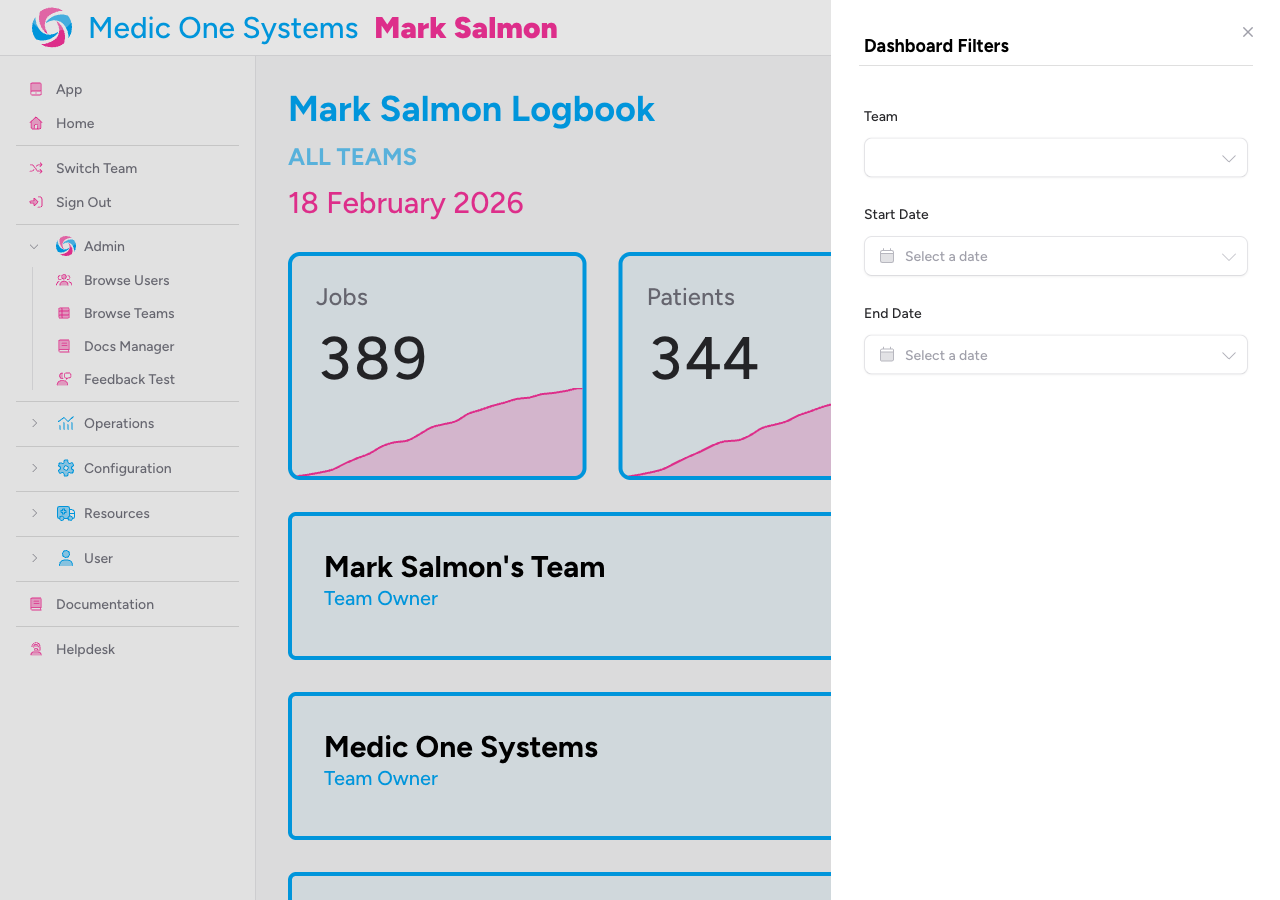
By default, the logbook shows your complete history. You can narrow it down using the filter panel.
-
Click the filter icon (funnel) in the top-right corner of the logbook page.
A flyout panel slides in from the right.
-
Set your filters:
- Team — if you belong to more than one team, use this dropdown to scope the logbook to a single team. Leave it blank to see all teams combined.
- Start Date — show only jobs from this date onwards.
- End Date — show only jobs up to and including this date.
-
The logbook updates live as you change the filters — there's no separate Apply button to click.
-
To clear all filters and return to your full history, click the red circle-X button next to the filter icon, or open the filter flyout and click Clear Filters.
The date range displayed in the logbook heading updates to reflect your current filters, so you can always see at a glance which period you're looking at.
Tips & Best Practices
- Keep your phone number up to date. If you use SMS-based 2FA, codes go to the number on your profile. An outdated number will lock you out at login.
- Save your 2FA recovery codes the moment you enable 2FA. You can view them again via Show Recovery Codes at any time — but only while 2FA remains active. Store them in a password manager, not just a screenshot.
- Use date filters for CPD or revalidation reporting. Scope your logbook to the relevant period and you have a clean summary of your clinical activity for that window.
- Your logbook spans all your teams automatically. All activity from every team you belong to is included by default. Use the Team filter to separate them when needed.
- Activity only appears when you've been crewed on a job. The logbook totals jobs where you appear in the crew list — not just jobs your team attended. If your counts look unexpectedly low, ask your team administrator to check you were added to the crew.
Troubleshooting
I changed my email address and now I can't log in. Your new address may need to be verified before it takes effect. Check your inbox for a verification email and click the link inside it. If it hasn't arrived, log back in using your old email address and click the re-send link on your profile page.
I've lost access to my authenticator app and can't log in. On the login screen, use one of your 2FA recovery codes in place of the six-digit code. If you've also lost your recovery codes, contact IndieBase support or your team administrator to regain access.
My logbook shows no data. Your logbook only includes jobs where you appear as a crew member. If you've attended jobs but they're not appearing, ask your team administrator to confirm you were added to the crew for those jobs.
The charts and tables below the summary cards aren't visible. These sections only appear when there's data to show. If you have no jobs or patients recorded against your account yet, those panels won't display. They appear automatically once you have relevant activity.
The Team filter dropdown isn't showing in the filter panel. The Team filter only appears when you belong to more than one team. If you're a member of just one team, the dropdown is hidden — there's nothing to filter by.
- Account Settings — managing your password, two-factor authentication, and browser sessions
- Your Solo Jobs — creating and managing jobs that aren't attached to a team event
- Setting Up Your Crew — how crew members are added to jobs, which determines what appears in your logbook