Table of Contents
Your Solo Jobs
How to use your Solo Account to create and manage jobs independently, outside of any team operation.
Your Solo Jobs
Your Solo Account lets you create and document jobs entirely independently — no team, no event, just you and your patient records.
Overview
IndieBase gives every user the option to have their own Solo Account: a personal workspace that sits alongside any team memberships you have. When you switch to your Solo Account and create a job, that job belongs only to you. It won't appear in anyone else's job list, it isn't tied to an event, and there's no shared command-and-control view.
Solo jobs work identically to team jobs under the hood — the same patient record form, the same offline-first behaviour, the same automatic sync. The only real difference is context: you're the only crew member, there's no event to link the job to, and the records are stored against your personal account rather than a shared team.
This makes solo jobs useful for private practitioners, individual contractors, and anyone who wants to maintain a personal clinical logbook alongside — or instead of — working within a team.
Before You Start
- You must have a Solo Account set up. If you haven't created one yet, go to your profile page at
/user/profileand look for the Solo Account section. If no Solo Account exists, you'll see a Create button there. - You must be switched to your Solo Account before creating a solo job. Jobs created whilst on a team account belong to that team, not to you personally.
- You need to be logged in and have access to the app at
/app/.
Switching to Your Solo Account
If you belong to more than one account (for example, both a Solo Account and a team account), you'll see a Switch Team option in the sidebar navigation.
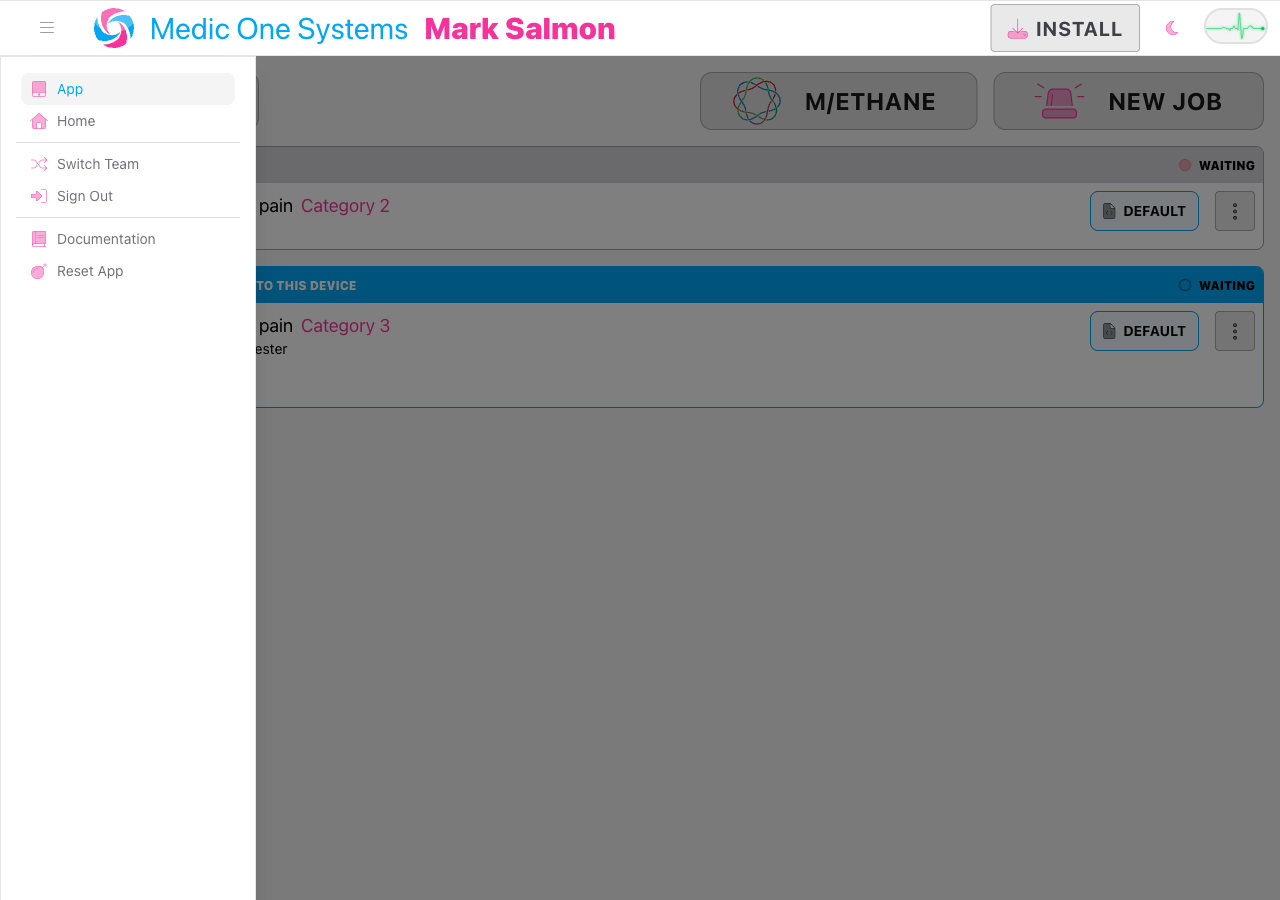
Tap the bars icon (three horizontal lines) at the top left of the screen to open the navigation drawer.
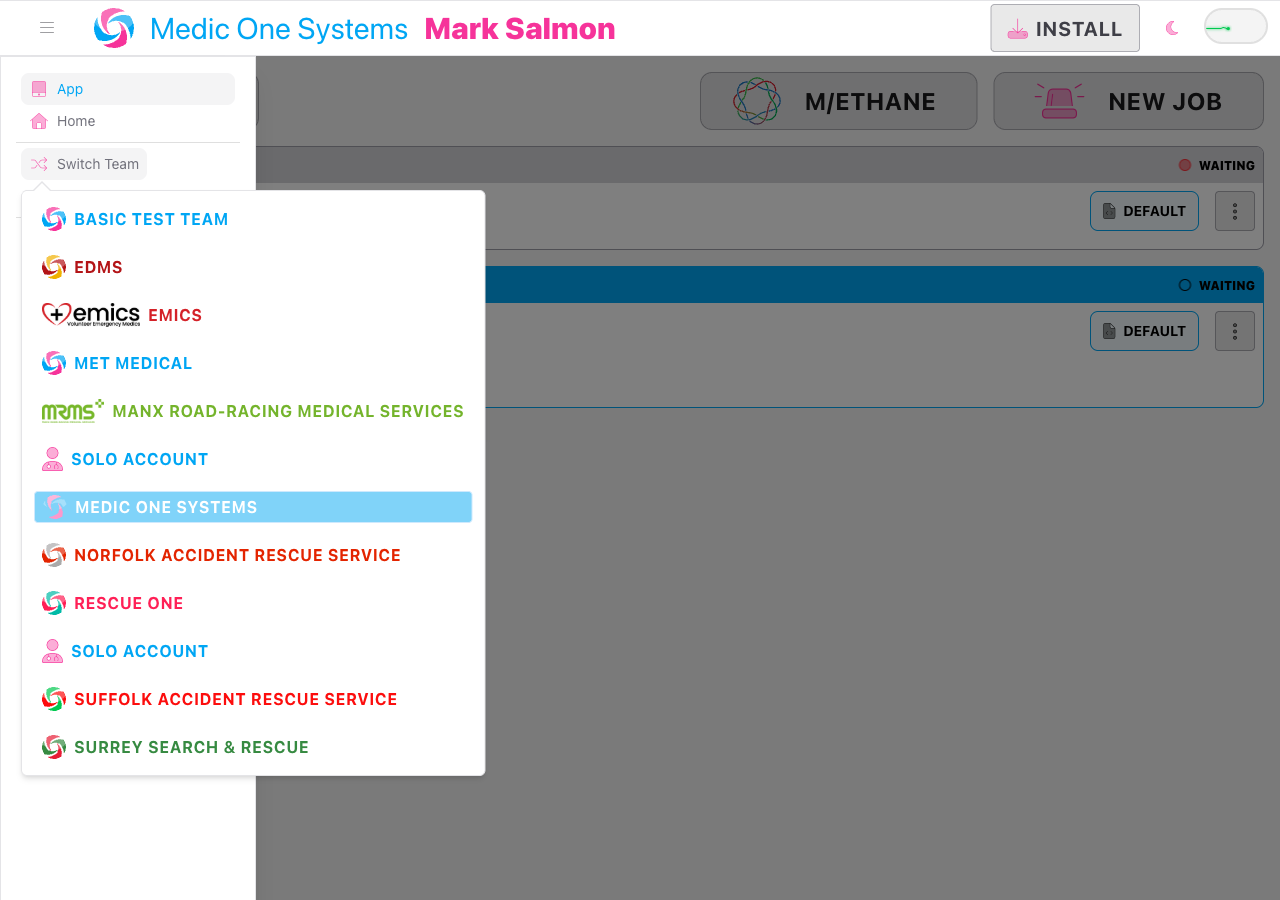
Step 2: Switch to your Solo Account
Tap Switch Team (shown with a shuffle icon). A popover appears listing your available accounts. Tap Solo Account — it's identified by a user-doctor icon rather than a team logo or team name.
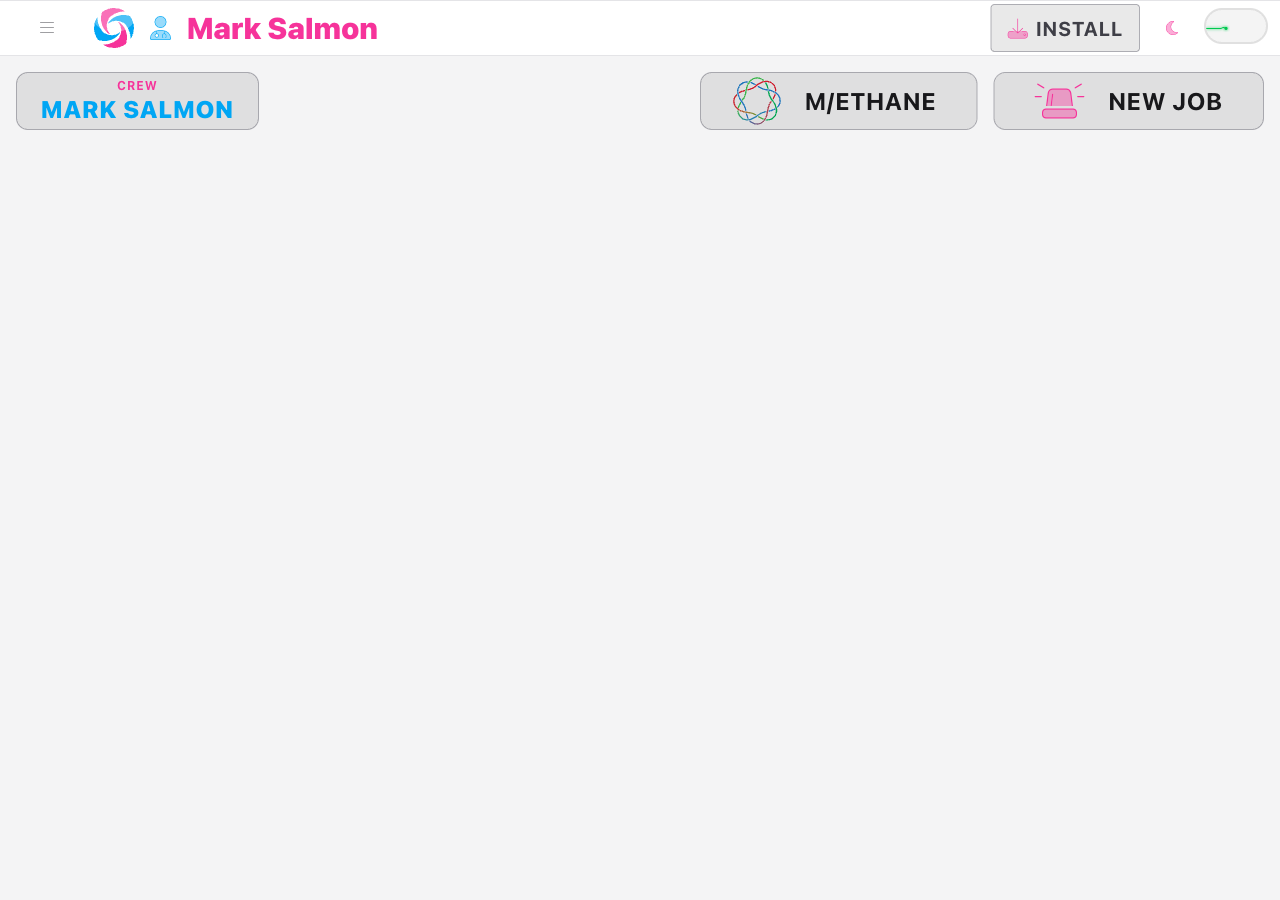
Once switched, the top navigation bar will show a user-doctor icon in place of a team name or logo — this is your visual confirmation that your Solo Account is active.
Switch Team only appears when you belong to more than one account. If you have a Solo Account and no team memberships, you're already on your Solo Account by default — no switching is needed.
Creating a Solo Job
With your Solo Account active, creating a job works exactly the same as creating any other job.
Step 1: Go to the home screen
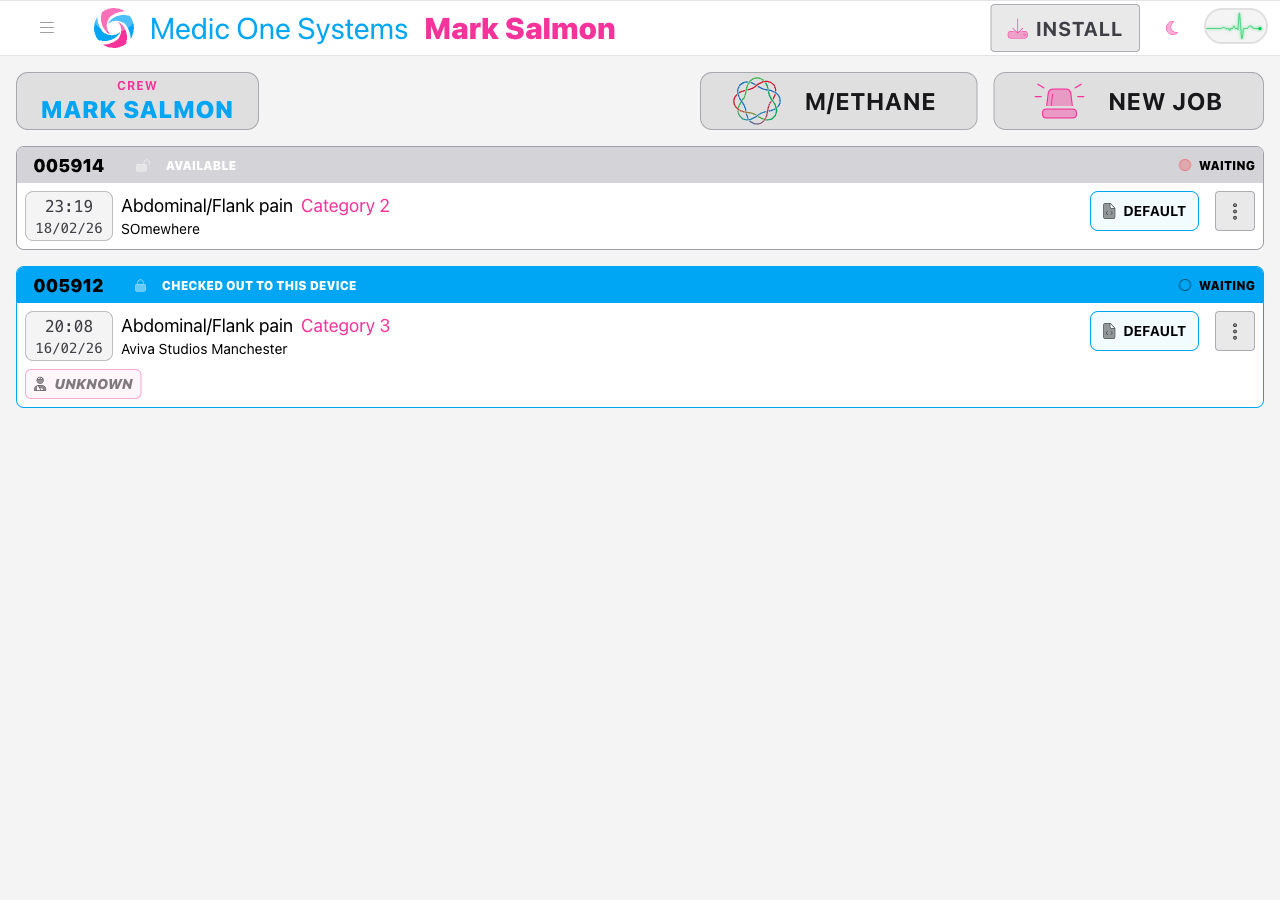
Navigate to /app/ if you aren't already there. You'll see the Jobs list — which will be empty if you haven't created any solo jobs yet.
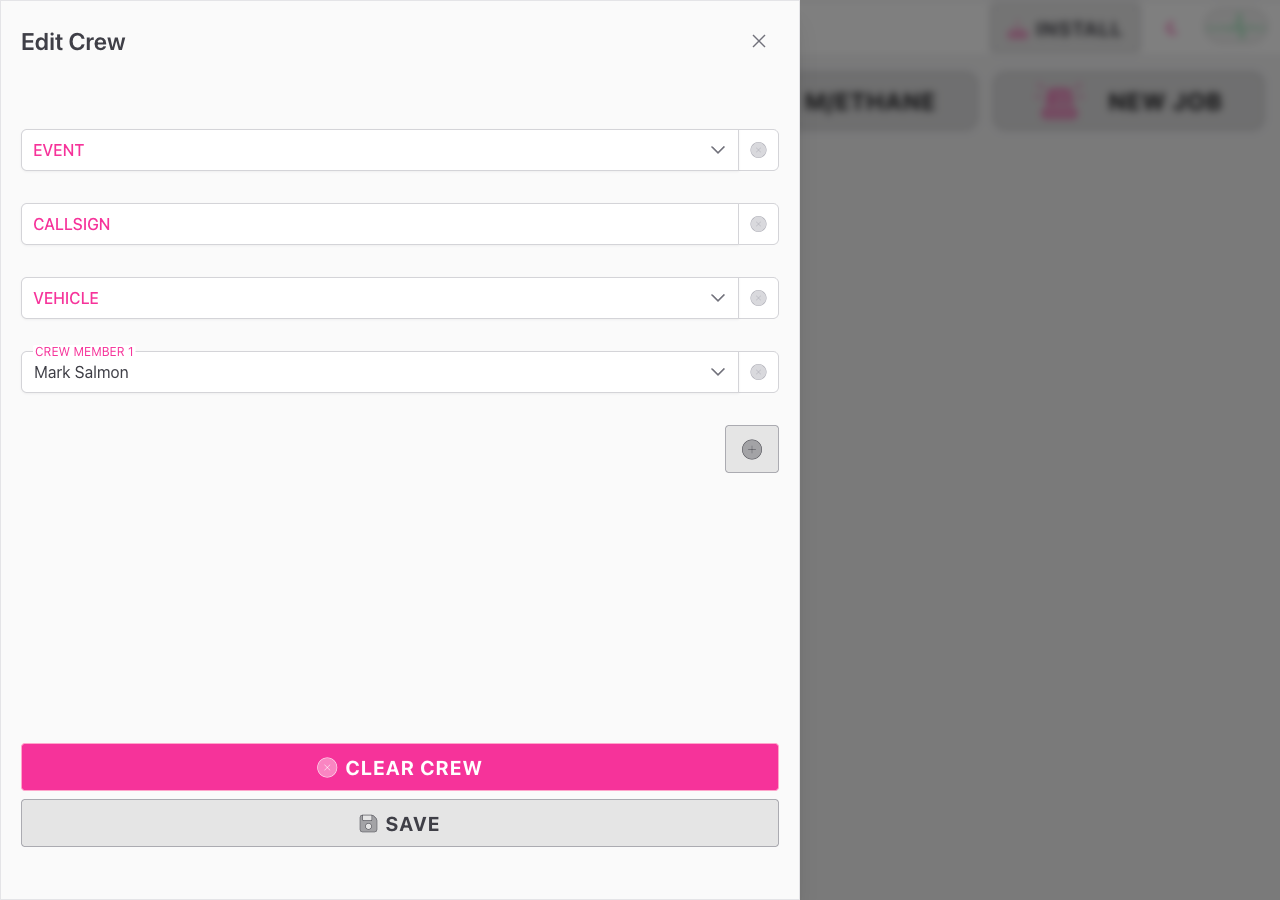
Step 2: Set up your crew
Tap the crew picker button at the top left of the screen. It shows your current callsign, vehicle, and crew members — or Select crew if no crew is active yet. This opens the Select Crew drawer.
From here you have two options:
- Select an existing crew - if you have crews listed under Your Crews, tap one to make it active.
- Create a new crew - scroll to the Quick Create section, enter a Callsign, and tap Create Crew. Your name is automatically included as a crew member. For solo use, leave the Vehicle field blank if it isn't relevant.
The Event field in Quick Create only appears if there are active events on your account. For a Solo Account with no events, it won't show at all.
Once you've selected or created a crew, the drawer closes automatically.
Step 3: Tap New Job
Tap the New Job button (siren icon, top right). IndieBase creates the job instantly on your device and takes you straight into the job editor.
The job is created with:
| Field | Value |
|---|---|
| 999 / Incident Date & Time | The current date and time |
| Owning account | Your Solo Account |
| Event | None (no event is linked) |
| Crew | Your name as the only crew member |
| PRF template | The default template for your Solo Account |
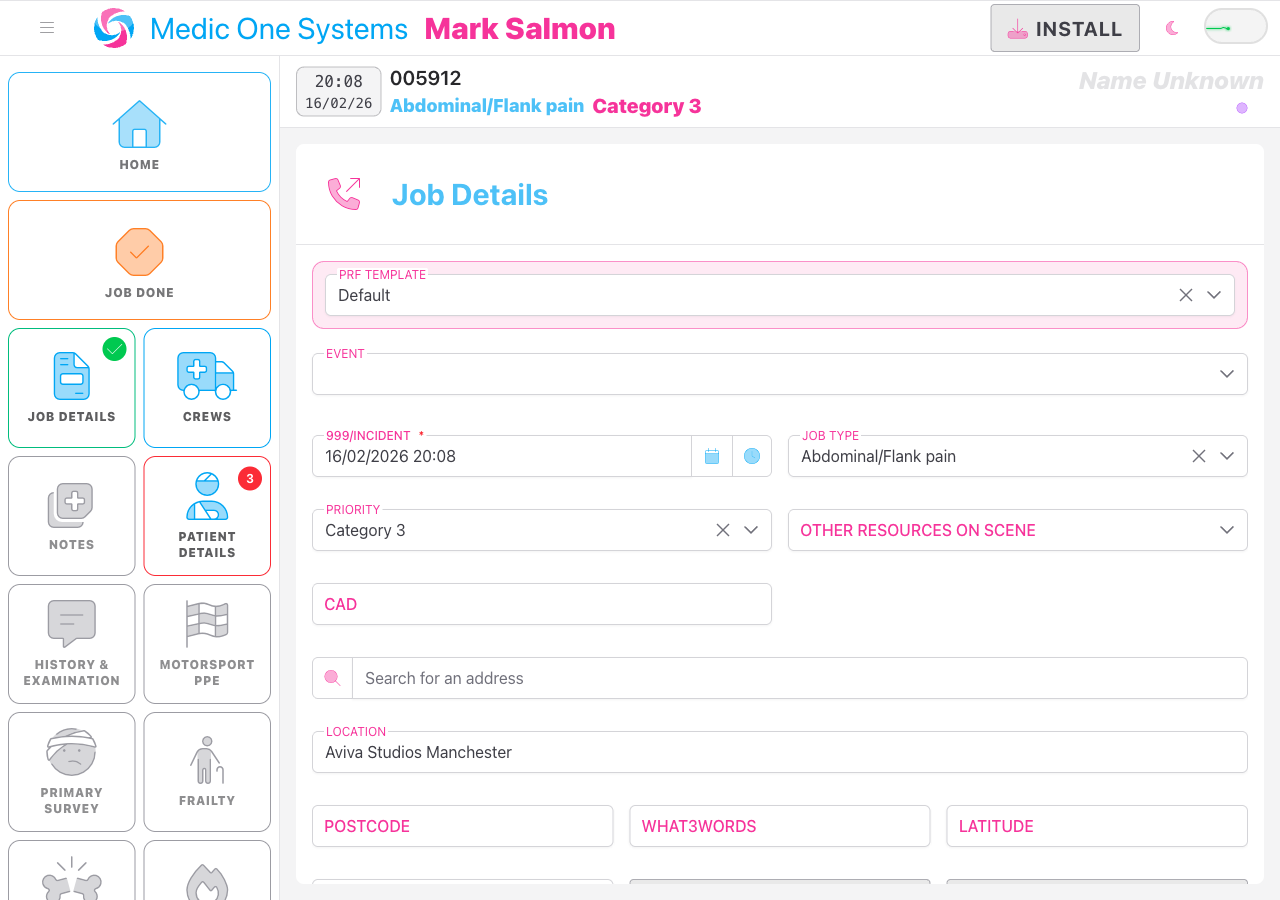
Step 4: Fill in the job details
Complete the Job Details panel with the relevant information. The fields available depend on how your Solo Account's PRF template is configured, but typically include job type, priority, and location.
The Event field will not appear on solo jobs because there is no event context when operating under your Solo Account.
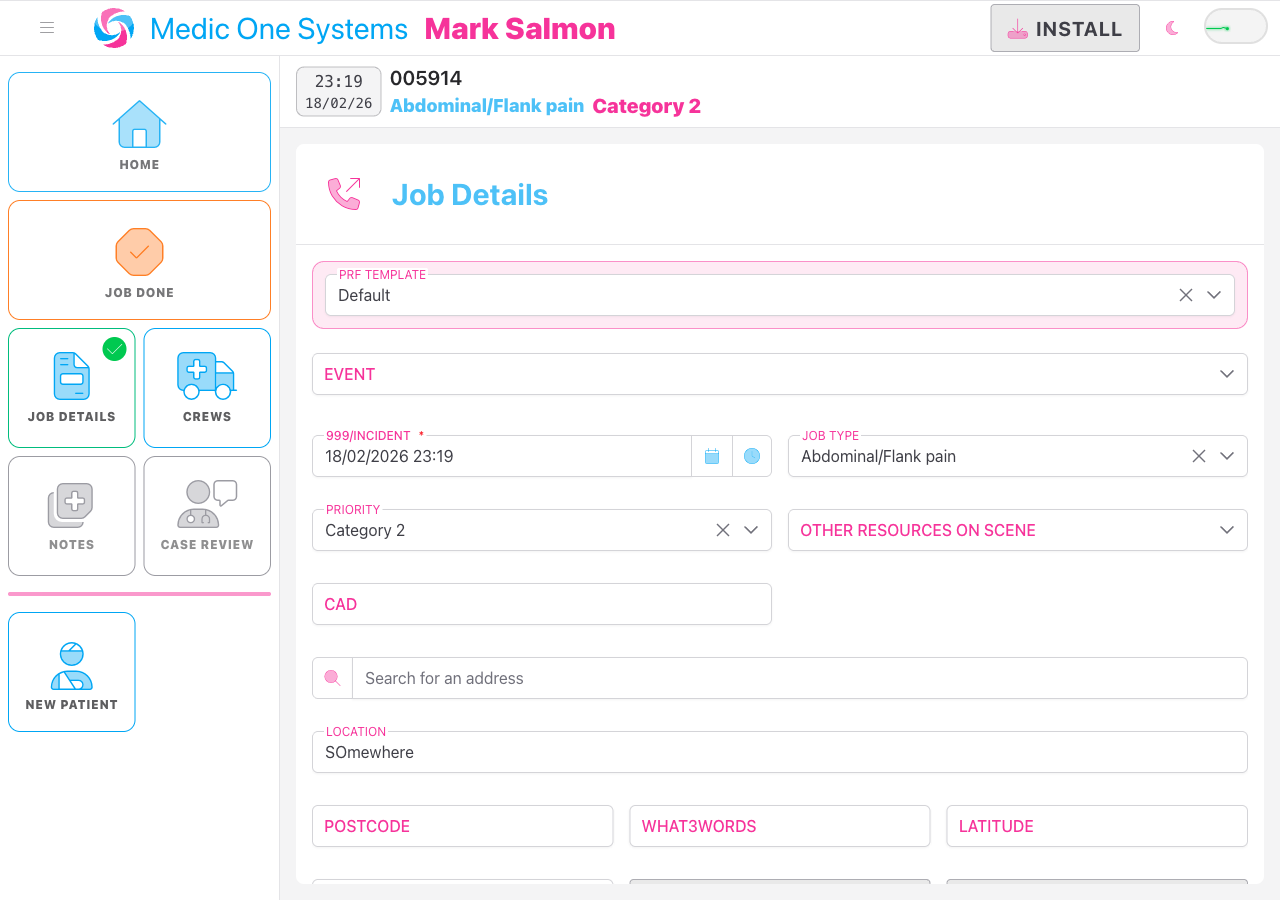
Step 5: Add a patient and complete the record
From here, adding a patient and completing the clinical record works identically to any other job. Tap NEW PATIENT in the job editor to create a patient record, then work through the clinical panels as normal.
See Filling in the Patient Record for a full walkthrough of clinical documentation.
Step 6: Mark the job as done
When you've finished, tap Job Done in the sidebar to close the job. Your changes sync to the server automatically in the background. The job will be removed from your device's local storage after 30 minutes of inactivity once all changes have been synced.
If you're offline when you mark the job as done, all changes are stored locally and sync automatically once your connection is restored.
How Solo Jobs Differ from Event Jobs
| Solo Job | Event Job | |
|---|---|---|
| Owning account | Your Solo Account | Your team account |
| Event link | None | Linked to an event |
| Visible to others | No - only you | Yes - visible to team admins and other crew |
| Crew members | Just you | Your crew plus any other crews on the event |
| Command & Control | Not applicable | Visible on the event show page |
| PRF template | Your Solo Account's template | Your team or event template |
Viewing Your Solo Jobs
Your solo jobs appear in two places.
On the app home screen (/app/) — whilst your Solo Account is active, all your solo jobs appear here, including those stored locally and those available from the server.
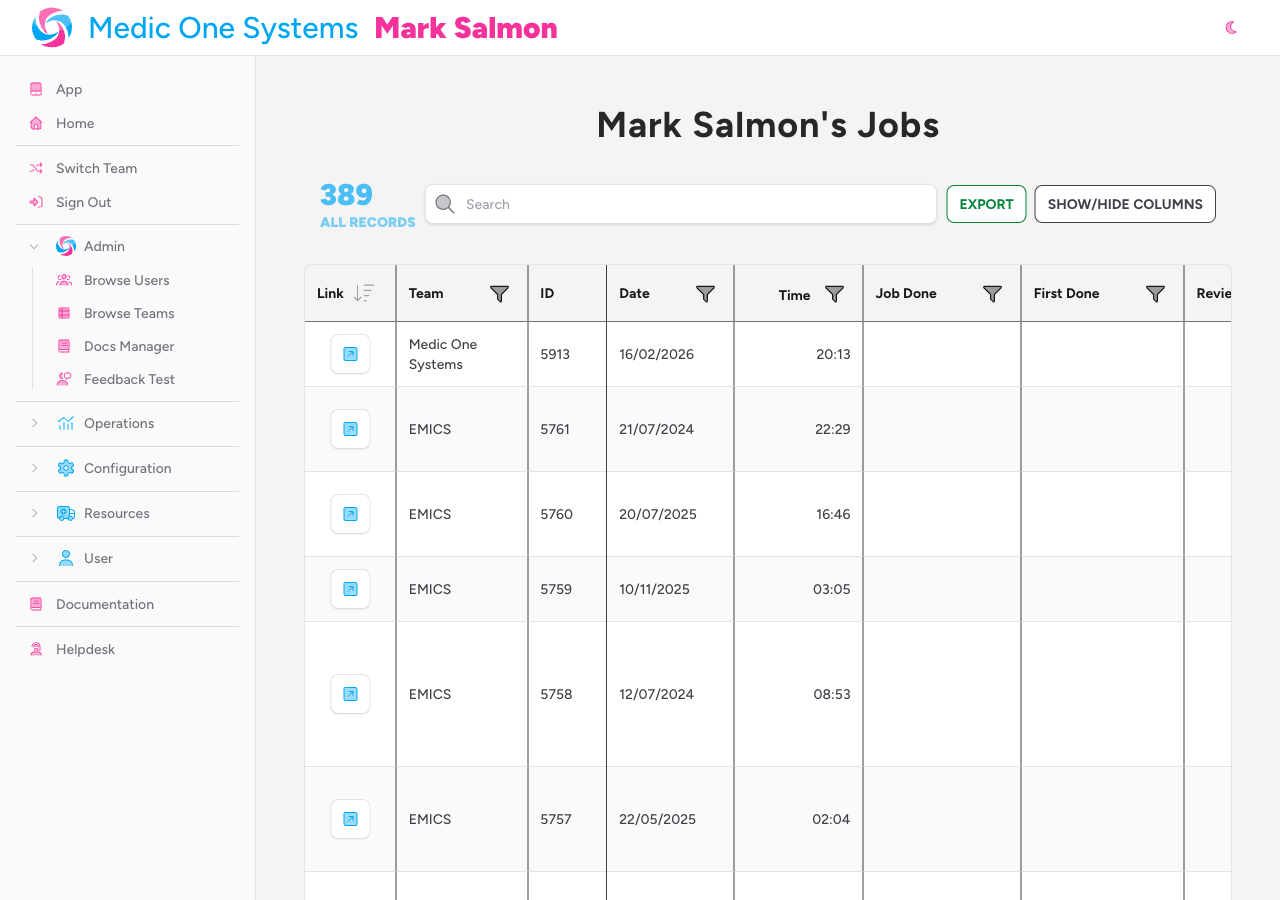
On the Browse Jobs page — under the User section of the web sidebar, Browse Jobs shows every job you've ever been crewed on, across all your teams and your Solo Account. The Team column identifies which account each job belongs to.
Your Logbook also spans all accounts automatically. Use the Team filter on the Logbook page to scope the view to your solo activity only. See User Profile & Logbook for details.
Tips & Best Practices
- Switch accounts before creating the job. If you accidentally create a job under a team account, it will be associated with that team and visible to team administrators. There's no way to move a job between accounts after it's been created.
- Your Solo Account has its own PRF template. Configuration set under your Solo Account — drugs, interventions, hospitals — is separate from any team you belong to. If your solo template needs updating, switch to your Solo Account and adjust it from Team Settings on the web interface.
- Solo jobs still sync to the server. Your Solo Account is a full IndieBase account. Jobs sync to the server, you can view them on the web, generate PDFs, and access them from any device. Nothing is stored only on your device.
- Add extra crew if you need to. Even on a solo job, you can add other users as crew members via the crew picker button. Use the Quick Create section to create a crew with additional members. They'll need to be members of your Solo Account to appear in the list.
Troubleshooting
I created a job but it's showing under my team, not my Solo Account. You were switched to your team account when you tapped New Job. Jobs can't be moved between accounts after they've been created. If the record is important, recreate it under your Solo Account whilst switched to it.
The Solo Account option isn't showing in the Switch Team popover.
You may not have a Solo Account set up yet. Go to your profile page at /user/profile and scroll to the Solo Account section. If no Solo Account exists, you'll see a form to create one.
I can't see the Switch Team option anywhere. Switch Team only appears when you belong to more than one account. If you only have a Solo Account and no team memberships, you're already on your Solo Account — no switching is required.
The Event field is appearing in my solo job. Make sure you are fully switched to your Solo Account. If the top navigation still shows a team name instead of the user-doctor icon, you're still on a team account. Switch accounts and try again.
My solo jobs aren't appearing when I log in on a different device. Solo jobs sync to the server automatically. If a job isn't appearing on another device, check your internet connection on the original device — the job may not have finished syncing yet. Once synced, it will be available on all your devices.
- User Profile & Logbook — view your personal clinical activity across all accounts
- Adding a Job — full walkthrough of creating any job
- Filling in the Patient Record — clinical documentation guide
- Marking a Job as Done — completing jobs