Table of Contents
Account Settings
How to update your profile, change your password, set up two-factor authentication, manage active sessions, and delete your account.
Account Settings
Your account page is where you manage your personal details, keep your password up to date, and lock down access with two-factor authentication.
Overview
The account settings page is split into five sections, stacked one after another on the same page: Profile Information, Update Password, Two Factor Authentication, Browser Sessions, and Delete Account. Each section operates independently — changes in one don't affect the others.
To get there, click your name or avatar in the top-right corner of the app and select Profile, or navigate directly to /user/profile.
Updating Your Profile Information
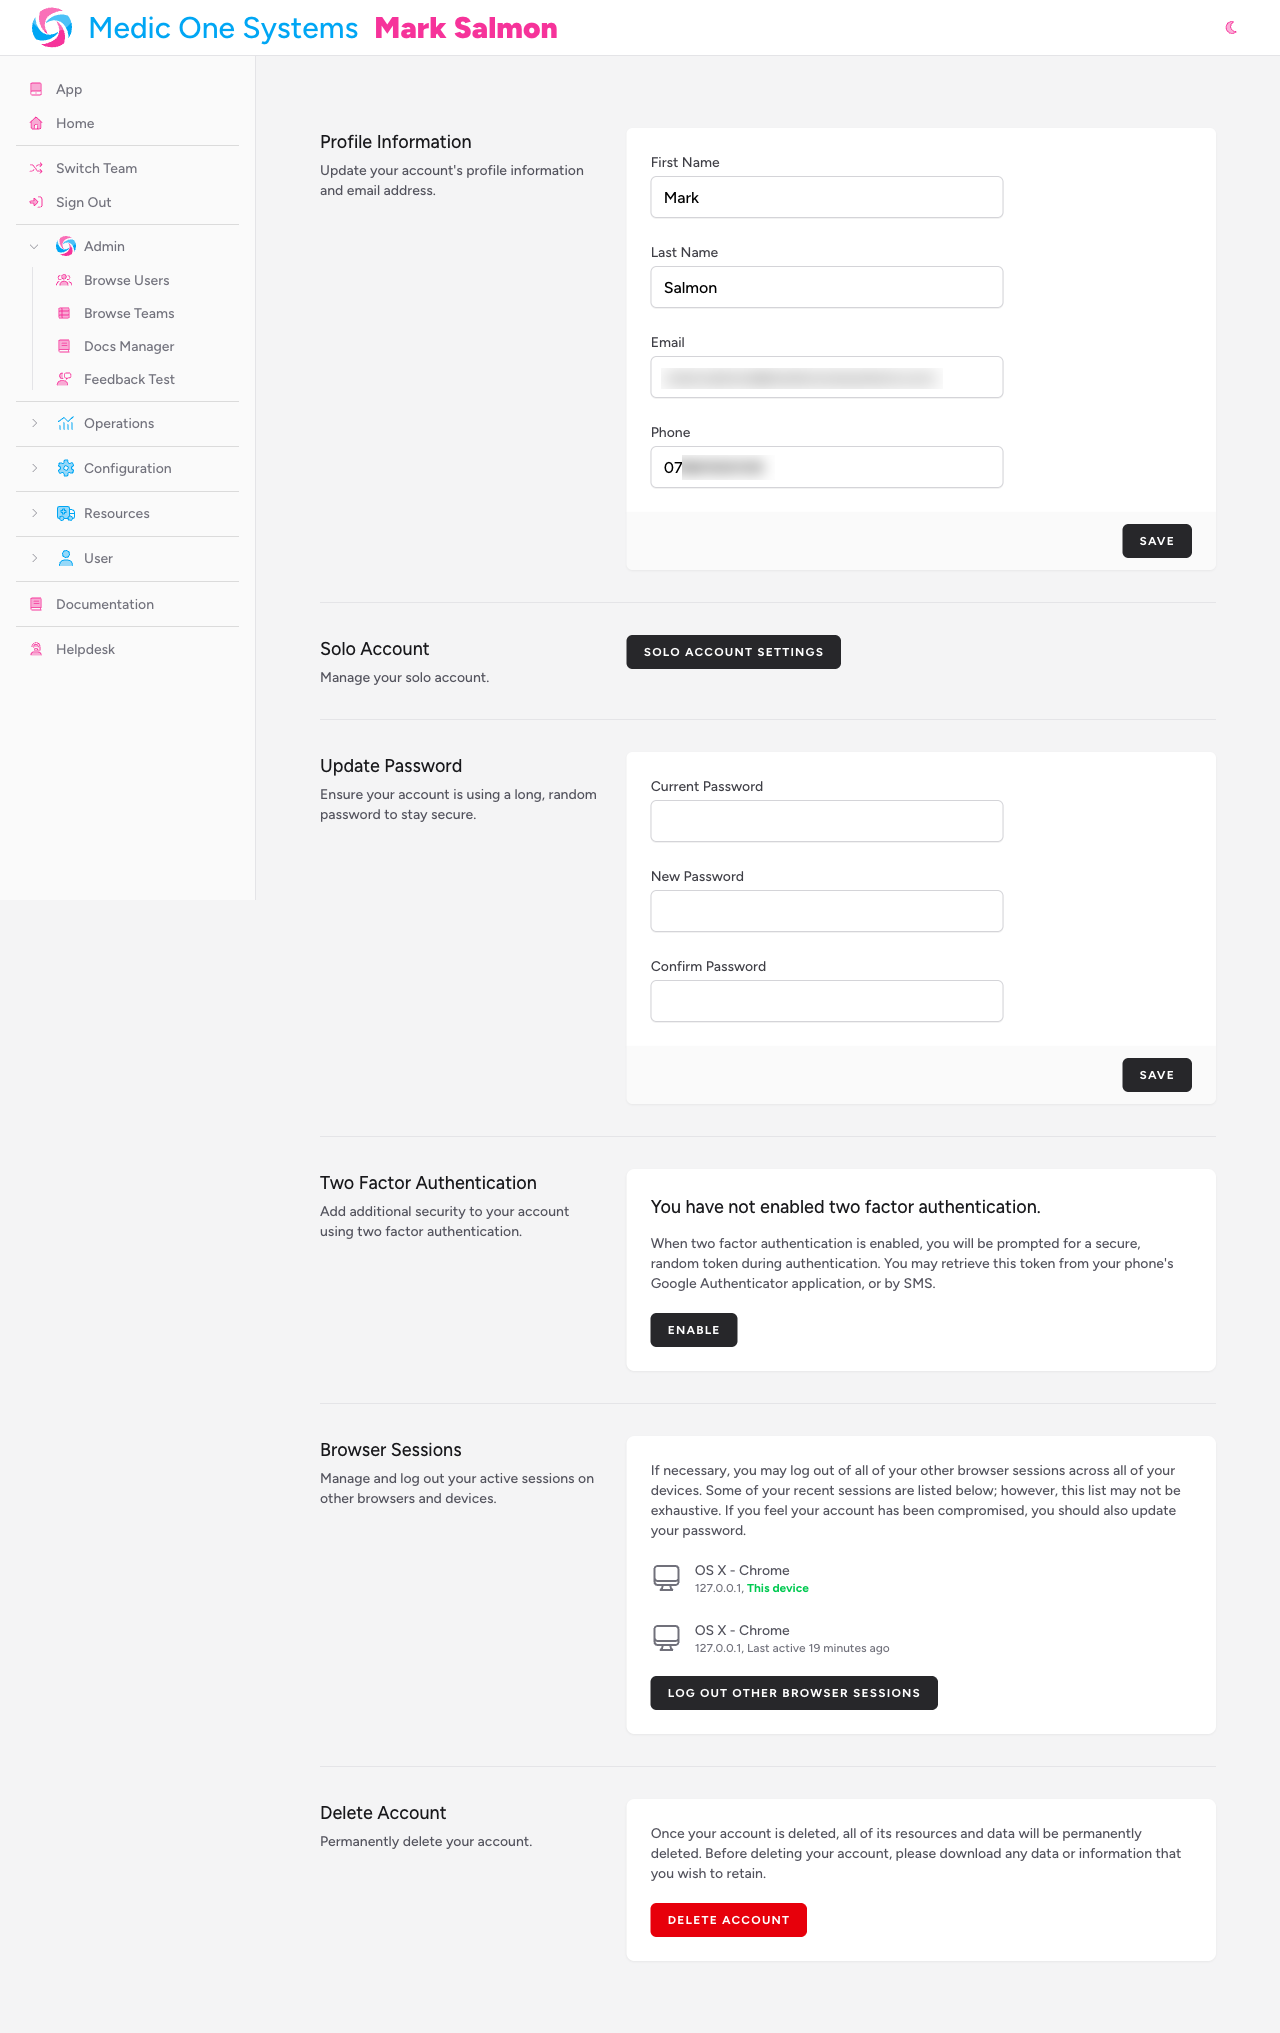
The Profile Information section lets you update the name, email address, phone number, and profile photo that IndieBase holds for you.
Fields
| Field | Notes |
|---|---|
| Photo | A circular profile picture. Optional |
| First Name | Required |
| Last Name | Required |
| Required. This is your login email address | |
| Phone | Your mobile number. Used when you choose SMS as your 2FA method |
Changing Your Name or Email
- Update the First Name, Last Name, or Email field.
- Click Save.
- A brief "Saved." confirmation appears next to the button.
If you change your email address, you may be asked to verify the new address before you can continue using the app. Check your inbox for a verification link.
Updating Your Profile Photo
- Click Select A New Photo.
- Choose an image from your device. A preview of the new photo appears immediately.
- Click Save to confirm the upload.
To remove your photo entirely, click Remove Photo (visible only when a photo is already set), then click Save.
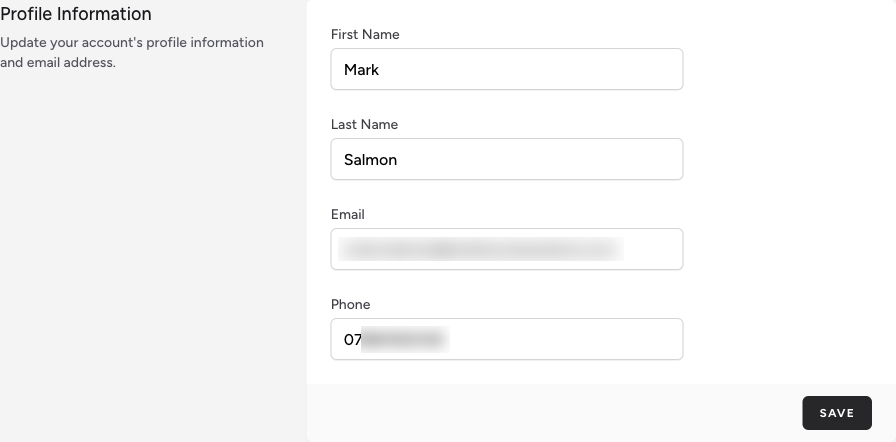
Changing Your Password
The Update Password section replaces your current password with a new one.
- Enter your Current Password.
- Enter your New Password.
- Re-enter it in the Confirm Password field.
- Click Save.
A "Saved." confirmation appears when the change is successful. If your current password is wrong, or your new password and confirmation don't match, an error message appears below the relevant field.
If you've forgotten your password and can't log in, use the Forgot password? link on the login page to request a reset link by email.
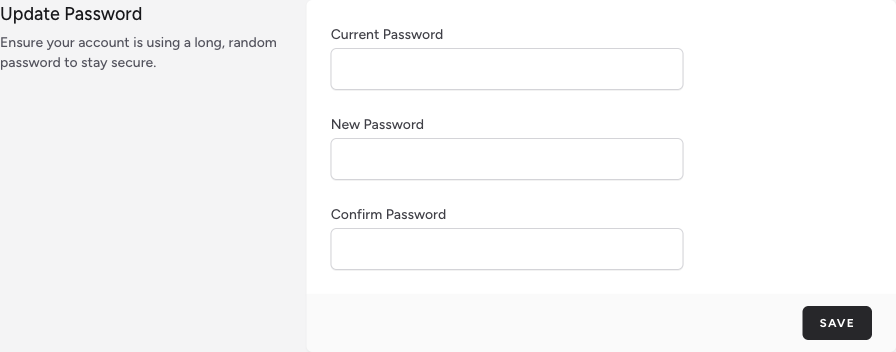
Two-Factor Authentication
Two-factor authentication (2FA) adds a second verification step when you log in, making your account significantly harder to compromise.
Some teams require 2FA. If your team has 2FA enforcement enabled, you'll be redirected to this section and blocked from accessing the app until 2FA is set up. Look for the warning banner at the top of this section.
Enabling 2FA
- Click Enable in the Two Factor Authentication section.
- You'll be prompted to confirm your password before proceeding.
- A QR code and Secret key appear along with two tab options — Authenticator App and Send to Phone.
Option A: Authenticator App
- Open an authenticator app on your phone (such as Google Authenticator, Authy, or 1Password).
- Scan the QR code. On a phone or tablet, an Open in authenticator app button may also appear — tap it to hand the setup directly to a compatible app without scanning.
- Your app will generate a 6-digit code. Enter it into the Code field on screen.
- Click Confirm to complete setup.
Setting up on the same device as your authenticator app? If the app and the QR code are on the same screen, you can't scan. Instead, tap Copy next to the Secret key to copy it to your clipboard. In your authenticator app, choose the option to enter a key manually (the label varies by app), give the account any name you like, and paste into the app's Secret key field. You only need the key itself — not a URL.
Option B: SMS
- Switch to the Send to Phone tab.
- Click Send a code via SMS. A code is sent to the phone number saved in your profile.
- Enter the code into the Code field.
- Click Confirm to complete setup.
SMS codes are rate-limited. If you click Send a code via SMS and the button becomes unavailable, wait 60 seconds and try again. Make sure your Phone number is saved correctly in the Profile Information section before using this method.
Once 2FA is confirmed, the section updates to show that 2FA is active.
Recovery Codes
After enabling 2FA, click Show Recovery Codes to reveal a set of one-time backup codes.
Store these somewhere safe — a password manager is ideal. If you ever lose access to your authenticator app or phone, a recovery code is the only way to get back into your account without contacting support.
To generate a fresh set of codes (for example, if you've used some or think they may have been seen by someone else), click Regenerate Recovery Codes. You'll be prompted to confirm your password first. The old codes are invalidated immediately.
Disabling 2FA
Click Disable in the Two Factor Authentication section. You'll be asked to confirm your password. Once confirmed, 2FA is removed from your account.
If your team requires 2FA, disabling it will lock you out of the app until you re-enable it.
Managing Browser Sessions
The Browser Sessions section shows all devices and browsers where your account is currently signed in, along with the IP address and the last time each session was active. Your current device is labelled This device in green.
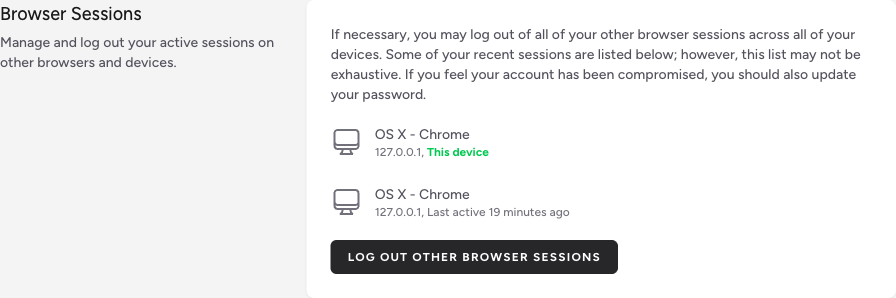
To sign out of all other sessions (everywhere except your current browser):
- Click Log Out Other Browser Sessions.
- A confirmation dialog appears. Enter your Password.
- Click Log Out Other Browser Sessions to confirm.
If you think your account may have been compromised, use this feature immediately and then change your password.
Deleting Your Account
The Delete Account section permanently removes your account from IndieBase.
This cannot be undone. Deleting your account removes all your personal data, any teams you own (and all jobs and patient records within them), and all associated data. Download anything you need to keep before proceeding.
To delete your account:
- Click Delete Account.
- A confirmation dialog appears. Read the warning carefully.
- Enter your Password to confirm your identity.
- Click Delete Account to proceed.

If you own any teams, those teams — along with their members, jobs, and patient records — will also be permanently deleted. If you want to preserve a team, transfer ownership to another member before deleting your account.
Tips & Best Practices
- Use an authenticator app rather than SMS where possible. Authenticator apps work offline and aren't vulnerable to SIM-swapping attacks.
- Save your recovery codes the moment you enable 2FA. You won't be reminded again, and losing access to both your authenticator and your recovery codes means losing access to your account.
- Keep your phone number up to date if you rely on SMS-based 2FA. A stale number means codes go nowhere.
- Log out other browser sessions periodically. If you use the app on shared or borrowed devices, this is a quick way to clean up access.
- Use a long, unique password. IndieBase stores clinical patient data — treat it with the same seriousness you'd give any system holding sensitive information.
Troubleshooting
I'm being redirected to the 2FA section every time I open the app. Your team administrator has made 2FA mandatory. You need to enable two-factor authentication before you can access the rest of the app. Follow the steps in the Enabling 2FA section above.
I've lost access to my authenticator app and don't have my recovery codes. Contact your team administrator or IndieBase support. Recovery without either an authenticator code or a backup code requires manual identity verification.
My 2FA code isn't being accepted. Check that the time on your phone is accurate — authenticator apps generate codes based on the current time, and drift of more than 30 seconds can cause failures. Also make sure you're entering the code quickly: each code is valid for only 30 seconds.
The SMS code never arrives. Check that your Phone number is saved correctly in the Profile Information section at the top of the page. Also check that you haven't hit the 60-second rate limit — the button shows a countdown timer if you need to wait.
I changed my email address but can't log in now. You may need to verify your new email address first. Check your inbox (and spam folder) for a verification email from IndieBase and click the link inside it.
I clicked Delete Account but nothing happened. Make sure you've entered your current password correctly in the confirmation dialog. If the password field shows an error, correct it and try again.
- User Profile & Logbook — updating your personal professional information and reviewing your activity logbook.
- Your Solo Jobs — jobs you've created and managed independently of a team.
- Subscription — managing your IndieBase subscription and billing.