Table of Contents
Adding a Job
How to create a new job when you receive a call or encounter a patient
Adding a Job
A job is the record you create the moment you receive a call or are dispatched to a patient. Everything — location, crew timings, patient details, and clinical notes — lives inside it.
Overview
When you tap New Job, IndieBase creates a new job record on your device instantly, even if you have no signal. The job is linked to your current crew and event automatically, and all the details you fill in are saved locally and synced to the server whenever you're back online.
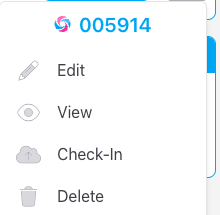
Each job has its own reference number (assigned by the server once it syncs), a set of incident details, and optionally one or more patients. You complete the job when the call is resolved by tapping Job Done.
Before You Start
- You must be logged in to the app at
/app/. - Your crew should be set up before you create a job — if it is not, the job will still be created but crew details will be incomplete. See the crew setup guide for more information.
- If your team has multiple PRF templates (form configurations), the default one will be applied automatically. You can change it from within the job if needed.
Step-by-Step Guide
Step 1: Go to the Home screen
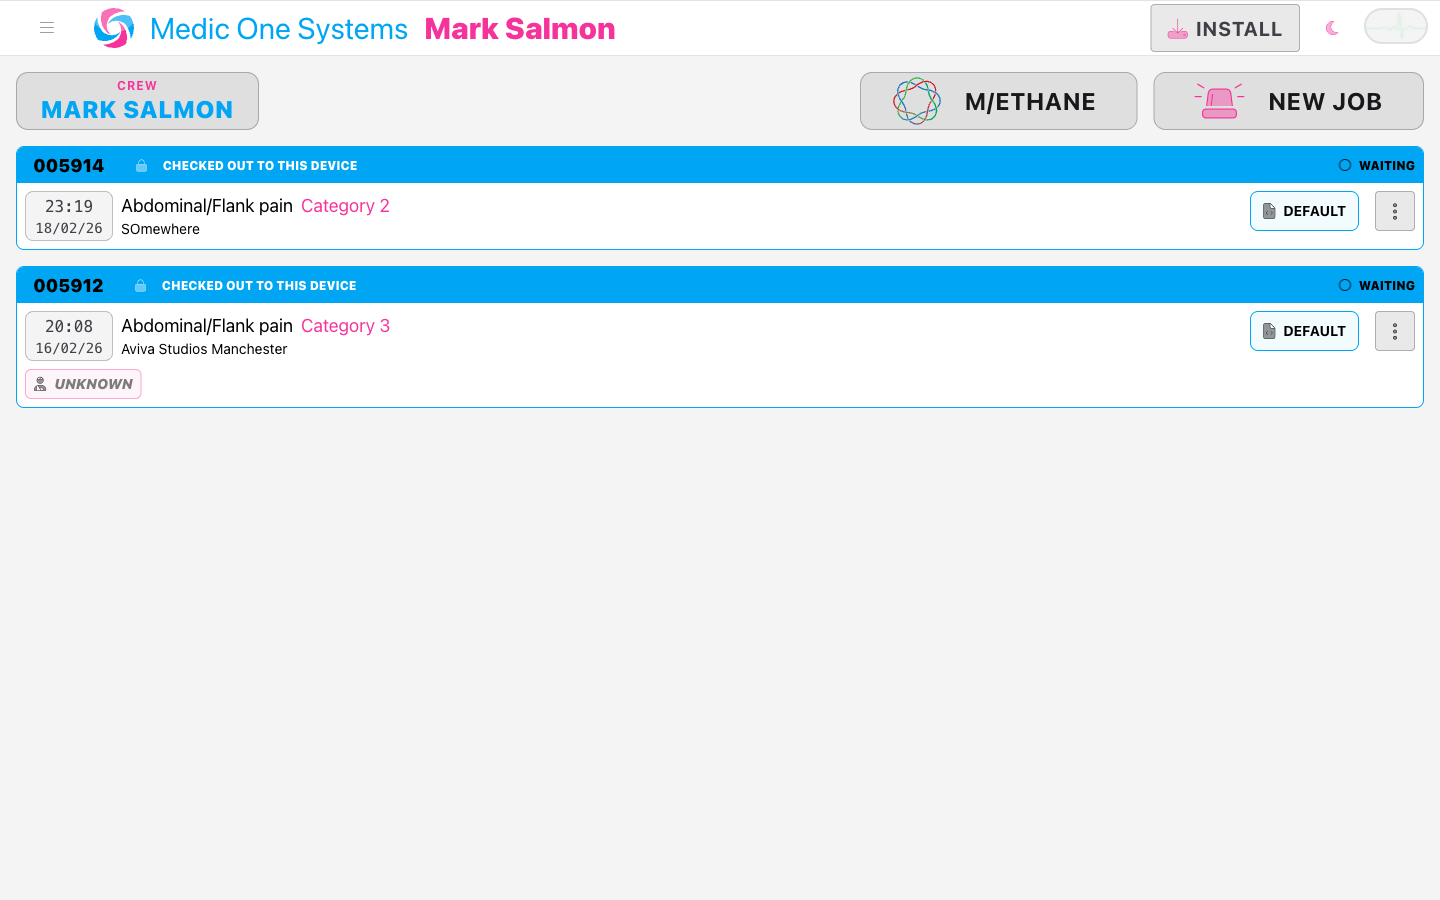
The home screen (/app/) is the Jobs list. This is where all active jobs — both those stored locally on your device and those available from the server — are displayed.
Step 2: Check your crew is correct
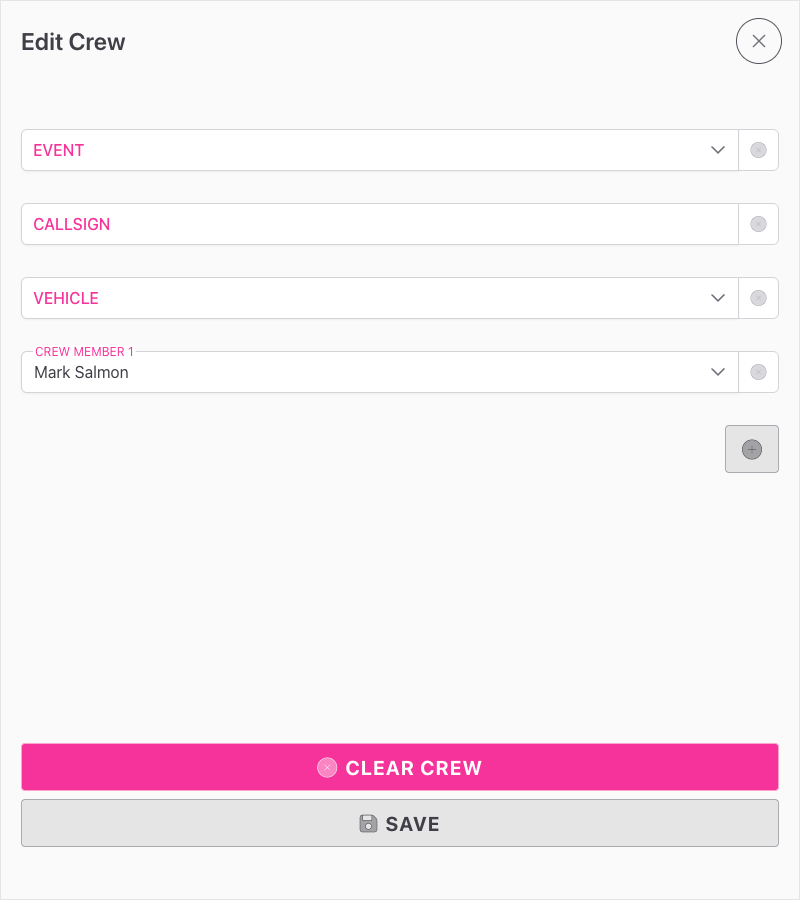
Before creating a job, glance at the CREW button at the top of the screen. It shows your current event, callsign, vehicle, and crew members.
If anything is wrong, tap the CREW button to open the crew panel and update your details before continuing.
Your crew details — callsign, vehicle, and crew members — are carried over into every new job you create. Getting this right before tapping New Job saves you time.
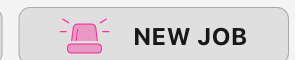
Step 3: Tap New Job
Tap the New Job button (top right of the screen, with a siren icon). IndieBase immediately creates a new job record on your device and takes you straight into the job editor.
The job is created with:
- The current date and time as the 999/Incident Date & Time
- Your current crew attached under Crews
- Your current event linked (if your crew has one set)
- The default PRF template for your team applied automatically
Step 4: Fill in the Job Details panel
The job editor opens on the Job Details panel. This is where you record the core details of the call.

The fields available depend on your team's configuration, but typically include:
999/Incident Date & Time The date and time the call was received or the job started. This is pre-filled with the current time. You can:
- Tap the calendar icon to open a date/time picker and adjust it manually.
- Tap the clock icon to snap the time to right now without changing the date.
Event If your team uses events (e.g. a specific festival or race circuit), you can link this job to one. This field only appears if your team's configuration includes it. Selecting an event may also unlock pre-defined venue locations.
Job Type A dropdown of incident types configured for your team (for example, medical, trauma, welfare). The available options are set by your team administrator.
Priority A dropdown for the priority level of the call. Options are configured by your team.
CAD A free-text field for the Computer Aided Dispatch reference number, if your control room provides one. This field may be hidden depending on your team's configuration.
Pre-defined Location If your event has venue locations configured (e.g. named medical posts, sectors, or grid references), you can select one here. Selecting a pre-defined location automatically populates the Location, Latitude, and Longitude fields.
The Pre-defined Location field only appears when you have selected an Event that has venue locations set up.
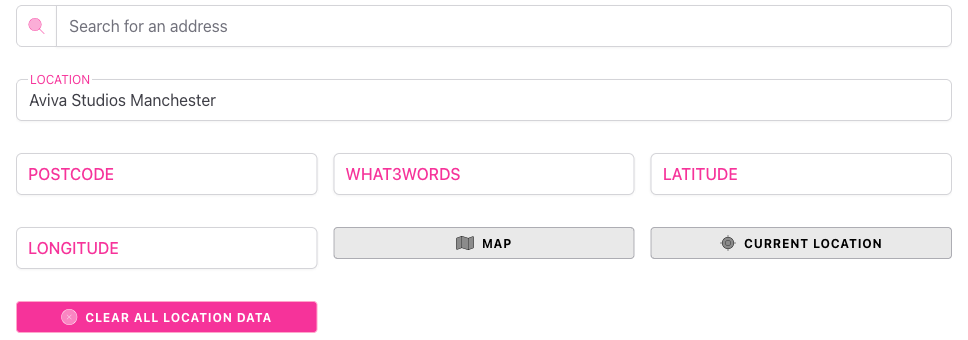
Location fields Below the pre-defined location selector is the full location block:
- Search for an address — type at least three characters to search for a UK address using the address lookup. Selecting a result auto-fills Location, Postcode, Latitude, Longitude, and What3Words.
- Location — a free-text field for the incident location description.
- Postcode — the postcode of the incident location.
- What3Words — a three-word address. You can type a what3words address directly and select from the autocomplete suggestions.
- Latitude / Longitude — coordinates, filled automatically when you use address lookup or what3words.
- Map button — toggles a Google Maps view where you can click to set a location pin.
- Current Location button — uses your device's GPS to set the location to where you are right now.
- Clear All location data button — removes all location data from the job.
Custom fields Your team may have configured additional custom fields on the Job Details panel (for example, extra reference numbers, dropdown selectors, or date fields). These appear below the standard fields.
Step 5: Review the Crews panel
Navigate to the Crews panel using the left-hand sidebar. Your current crew is automatically attached to the job when it is created.
From this panel you can:
- Record key time stamps for each crew resource: Crew Dispatch Time, Mobile Time, Scene Time, Patient Time, and Clear Time. Each has a clock icon to stamp the current time instantly.
- Set the Result for each crew (e.g. Patient Treated, Patient Conveyed, Stand Down Before Scene).
- Tap Add Resource to attach additional crews or individual team members to the job.
- Edit an existing crew's callsign, vehicle, or members by tapping Edit My Crew on your crew row.
Crew time stamps can be filled in as the job progresses — you do not need to enter them all at once.

Step 6: Add a patient (if required)
If the job involves a patient, tap NEW PATIENT in the left-hand sidebar. This creates a patient record linked to the job and reveals the full clinical panel set.
Once a patient has been added, the sidebar expands to show all available clinical panels (Patient Details, Observations, Drugs, and so on). The job header at the top also updates to show patient information as you fill it in.
You can also add a second patient to the same job by tapping NEW PATIENT again once a patient already exists. IndieBase will create a linked sibling job for the additional patient.

Step 7: Select a PRF template (if your team has multiple)
If your team has more than one PRF template configured, a PRF Template selector will appear at the top of the Job Details panel. The default template is applied automatically when the job is created, but you can change it here at any time.
Changing the template may show or hide certain panels and fields depending on how your administrator has set it up.

Step 8: Mark the job as done
When the call is complete, tap Job Done in the left-hand sidebar. IndieBase will validate any required fields before closing the job. If anything mandatory is missing, it will take you directly to the panel that needs attention.
Once validated, the job is marked as done and you are returned to the Jobs home screen.

Step 9: Job syncs automatically
After marking a job as done, your changes sync to the server automatically in the background. You'll see the job listed on the Jobs home screen with a Done status.
The job is automatically removed from your device's local storage once all changes have been synced and the job has been idle for 30 minutes. If you need to keep the job available locally for longer, you can pin it from the job card menu.
If you are offline when you mark a job as done, all changes are stored locally and sync automatically once connectivity is restored.
Tips & Best Practices
- Stamp your times as they happen. Use the clock icons on crew time fields to capture accurate times rather than trying to remember them later.
- Use address lookup or what3words for location accuracy. Typing into the search field gives you coordinates and a what3words reference automatically, which is far more precise than typing a free-text address.
- Your crew carries over between jobs. If you create multiple jobs during a shift, your crew details are applied to each one automatically — you only need to update them if they change.
- You can work fully offline. All job data is stored on your device. Create and edit jobs without a signal; everything will sync when you reconnect.
Troubleshooting
The New Job button is not visible.
Make sure you are on the home screen (/app/). If you are on a different page, tap the Home link in the job editor sidebar or navigate back using your browser.
The PRF Template selector is not showing. This selector only appears when your team has more than one active PRF template configured. If your team only has one template, it is applied automatically and the selector is hidden.
The Pre-defined Location dropdown is not appearing. This field only appears when you have selected an Event in the Job Details panel, and only if that event has venue locations set up by your administrator.
Job Done is refusing to complete. IndieBase validates required fields before allowing a job to be closed. It will navigate you to the first panel with missing required information. Fill in the highlighted fields and try again.
The job is not syncing to the server. Check your internet connection. Jobs created offline are stored locally and will sync automatically once connectivity is restored.
- Setting Up Your Crew — get your callsign, vehicle, and crew members set before your first job
- Filling In the Patient Record — adding and editing the clinical record once a patient has been created
- Completing and Handing Over a Job — recording the patient outcome and completing the job