Table of Contents
Filling In the Patient Record
How to complete a patient record with medical information during and after treating a patient
Filling In the Patient Record
Once a patient has been added to a job, you work through a series of panels in the sidebar to capture everything from the primary survey through to outcome. The record saves automatically as you type — you never need to hit a Save button.
Overview
The patient record is the clinical heart of IndieBase. It's a structured set of panels — Primary Survey, Observations, Drugs, Interventions, and so on — that build into a complete picture of the patient encounter. You navigate between panels using the sidebar on the left, and the app takes care of saving in the background.
Most panels are available to all crew members on the job. Some panels (Burns, Blood Gases, Sedation, Intubation, Journey Legs, Checklists) are only available on plans that include those features, and some panels may be hidden or configured differently depending on your team's setup.
Before You Start
- The job must already exist, and a patient must have been added to it. If you're looking at a job with no patient yet, tap New Patient in the sidebar to create one.
- You need to be a member of the team that owns the job.
- The app works fully offline. If you're working without a connection, everything you enter is stored locally and synced automatically when you're back online.
Understanding the Layout
The patient record screen is split into two areas:
- Sidebar (left) — a column of panel buttons. Each button represents one section of the record. Tap a button to switch to that panel.
- Main area (right) — the active panel, where you enter data.
Each panel button gives you a status at a glance:
- No badge — nothing recorded in this panel yet.
- Green number badge — data has been recorded (the number shows how many entries, where relevant).
- Green tick badge — the panel is considered complete.
- Red border — the panel has a validation error (a required field is missing).
- Green border — the panel has data but still has outstanding required fields.
- Dimmed / lower opacity — the panel exists but is empty. It'll brighten once you add something to it.
The currently selected panel is highlighted with a different border colour.
Auto-Save
You do not need to save manually. Every change you make is saved to local storage within half a second of you stopping typing. Changes are also queued for sync to the server in the background. If you lose connection mid-job, nothing is lost.
The Panels
Work through the panels in order from top to bottom during patient contact. You don't have to follow the order strictly, but it broadly mirrors a clinical assessment flow.
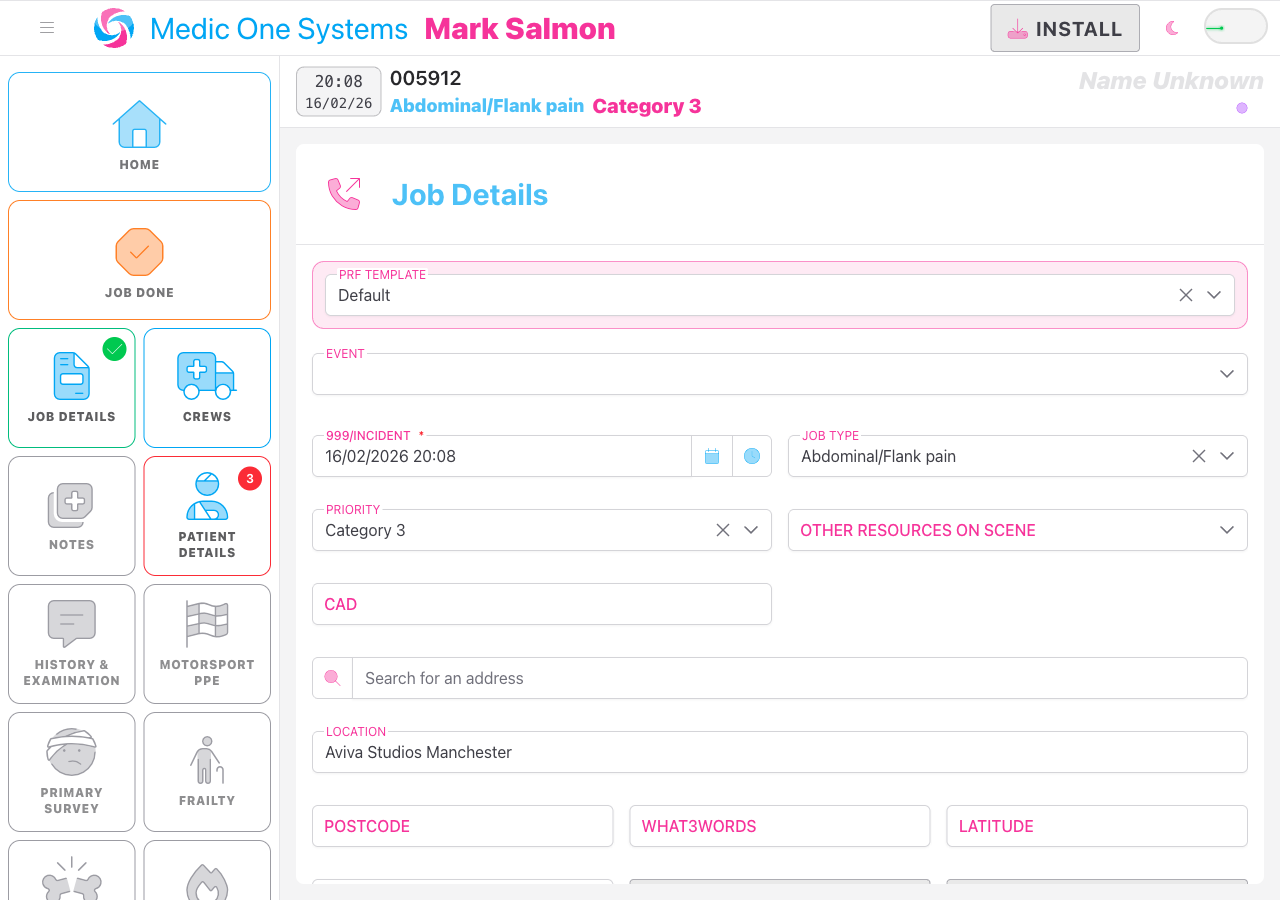
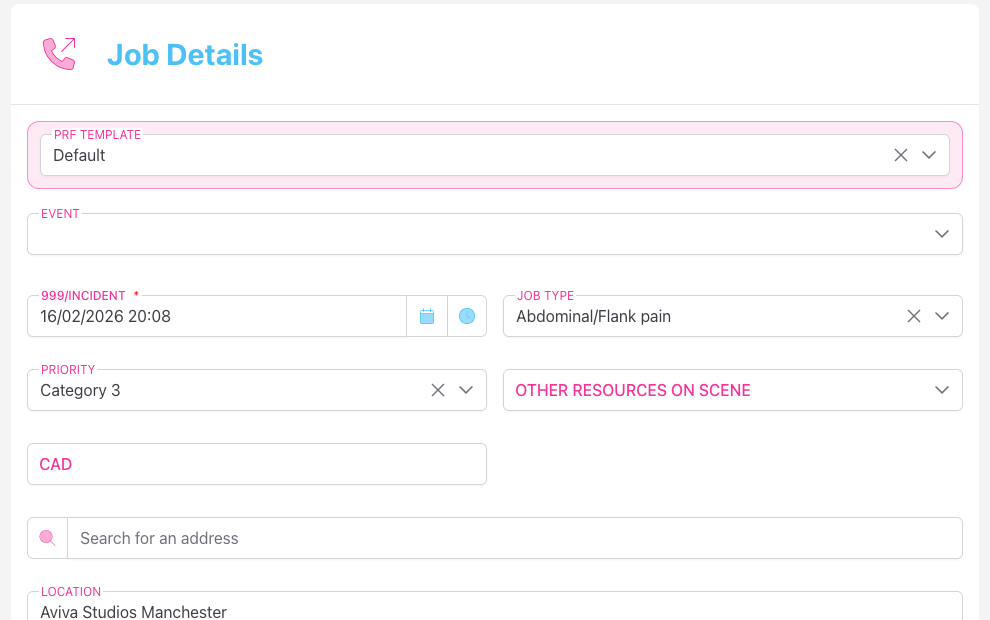
Job Details
Job-level information about the incident itself — not the patient specifically. This is usually filled in when the job is created, but you can update it here.
Crews
Records which crews are assigned to the job. See the separate Crews documentation for full details.
Patient Details
The first patient-specific panel. This is where you record who the patient is.

Fields:
| Field | Notes |
|---|---|
| Name | The patient's full name |
| Identifier | An alternative identifier (the label may differ depending on your team's configuration) |
| Date of Birth | Use the date picker. Age is calculated automatically from DOB and the job call time |
| Age | Enter directly if DOB is unknown. You can enter years, months, or days |
| Gender | Select from the options configured for your team |
| Weight | In kilograms |
| Category | A classification field — options depend on your team's configuration |
| Address | Start typing to search for an address using postcode lookup, or enter it manually |
| Postcode | Filled automatically when you use the address search |
| The patient's email address | |
| Consent for feedback | Toggle on if the patient has consented to receive a feedback request |
Required fields are marked with a red asterisk (*). Which fields are required depends on your team's form configuration — not all fields may appear.
History & Examination
Free-text clinical narrative fields. Fill these in as you take the patient's history.
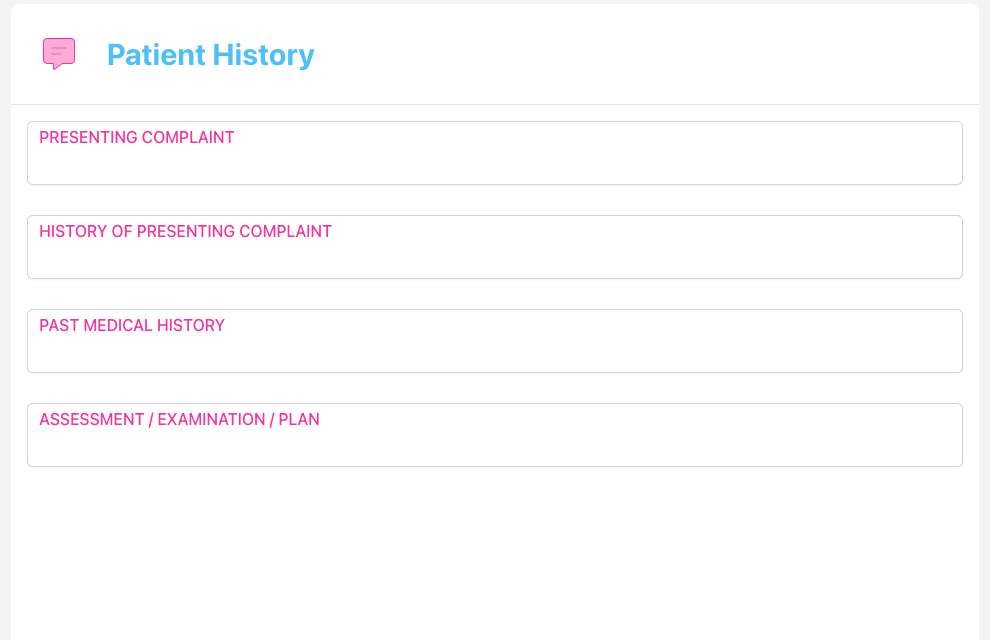
Fields:
- Presenting Complaint — the patient's main complaint in their own words
- History of Presenting Complaint — the fuller story: onset, duration, character, associated symptoms
- Past Medical History — relevant medical background
- Assessment / Examination / Plan — your clinical findings, working diagnosis, and management plan
The panel button in the sidebar shows as "exists" as soon as any of the first three fields have content. It shows a tick when all three are filled.
Primary Survey
Records your ABCDE primary survey findings. The panel button won't appear until you tap Create Primary Survey inside the panel.
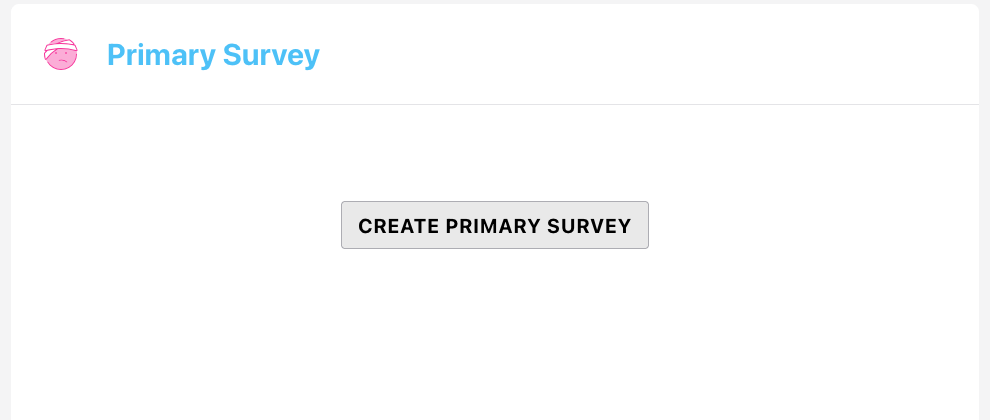
- Tap Create Primary Survey to initialise the form.
- Work through the fields.

Fields:
| Field | Notes |
|---|---|
| Catastrophic Haemorrhage | Select from the configured options |
| Airway | Select from the configured options |
| Breathing | Select from the configured options |
| Circulation | Select from the configured options |
| GCS Eyes | Select from 1–4 or U (untestable) |
| GCS Voice | Select from 1–5 or U |
| GCS Motor | Select from 1–6 or U |
| AVPU | Alert / Verbal / Pain / Unresponsive |
| Left Pupil | Size in mm, plus Reactive / Unreactive toggle |
| Right Pupil | Size in mm, plus Reactive / Unreactive toggle |
GCS shortcuts: Use the GCS 3 and GCS 15 buttons to set all three GCS components to their minimum or maximum values in one tap.
The GCS total is calculated and displayed automatically as you fill in the three components.
To remove the Primary Survey and start again, use the trash icon in the panel header. You'll be asked to confirm before anything is deleted.
Observations
Records serial vital sign observations over time. Each observation is timestamped, and all observations are displayed in a chronological table.
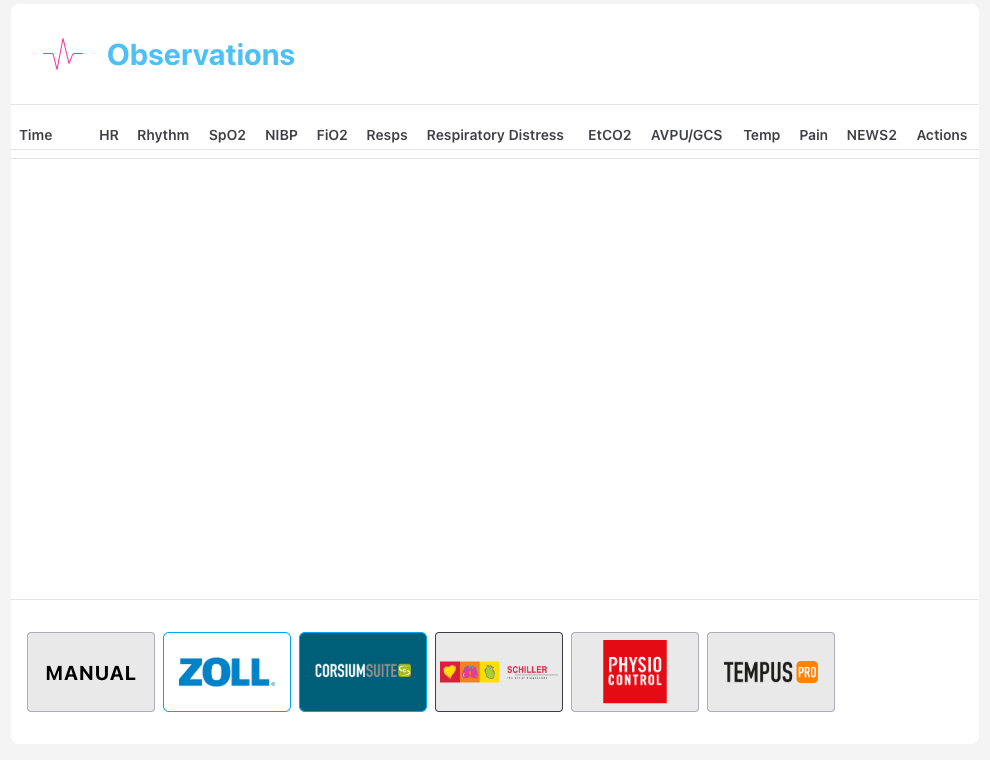
Adding an Observation
- Tap Manual at the bottom of the panel.
- A slide-out drawer opens.
- Enter the Time — tap the clock icon to set it to right now, or use the time picker to enter a specific time.
- Fill in the vital sign fields relevant to this observation.
- Tap Save to save and immediately start a new observation, or Save & Close to save and close the drawer.
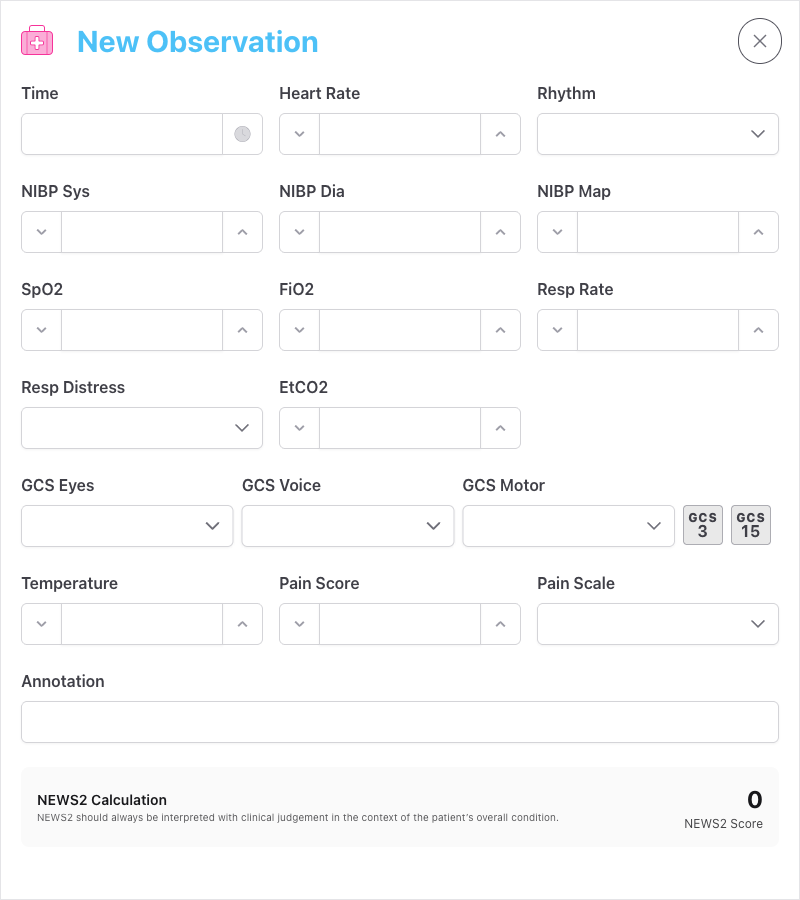
Available fields (which fields are visible depends on your team's configuration):
| Field | Notes |
|---|---|
| Time | Required for every observation |
| Heart Rate | Beats per minute (0–350) |
| Pulse | Palpated pulse rate |
| Rhythm | Select from the configured rhythm options |
| NIBP Sys / Dia / Map | Non-invasive blood pressure: systolic, diastolic, mean arterial pressure |
| IBP Sys / Dia / Map | Invasive blood pressure: systolic, diastolic, mean arterial pressure |
| SpO2 | Oxygen saturation (0–100%) |
| FiO2 | Fraction of inspired oxygen (0–100%) |
| Resp Rate | Respirations per minute |
| Resp Distress | Select from the configured options |
| EtCO2 | End-tidal CO2 |
| GCS Eyes / Voice / Motor | Each component individually |
| AVPU | Alert / Verbal / Pain / Unresponsive |
| Temperature | In degrees Celsius |
| Pain Score | 0–10 numeric scale |
| Pain Scale | The scale used (e.g. NRS, VAS) |
| Annotation | A free-text note for this specific observation |
GCS shortcuts work the same way as in the Primary Survey panel: GCS 3 and GCS 15 buttons set all components instantly.
Automatic Early Warning Score
As you fill in an observation, the app calculates an early warning score live and displays it before you save. For adult patients, this is NEWS2. For paediatric patients (under 14 years), the app uses the appropriate PEWS scoring system. The score is colour-coded by risk level:
- Yellow — Low-medium risk
- Orange — Medium risk
- Red — High risk
The score is a clinical decision-support tool. Always apply your own clinical judgement.
Editing and Duplicating Observations
Each row in the observations table has three action buttons:
- Edit (pencil) — opens the drawer pre-filled with that observation's data
- Duplicate (copy) — opens the drawer with the same data but a new timestamp set to now, useful for rapid repeat observations
- Delete (trash) — removes the observation permanently
Obs Chart
Once you have more than one observation recorded, an Obs Chart panel appears in the sidebar. This displays a graphical Highcharts time-series chart of the patient's vital signs over time.

Suspected Injuries
Records individual injuries using your team's injury list, which is categorised by region, type, and specific injury.
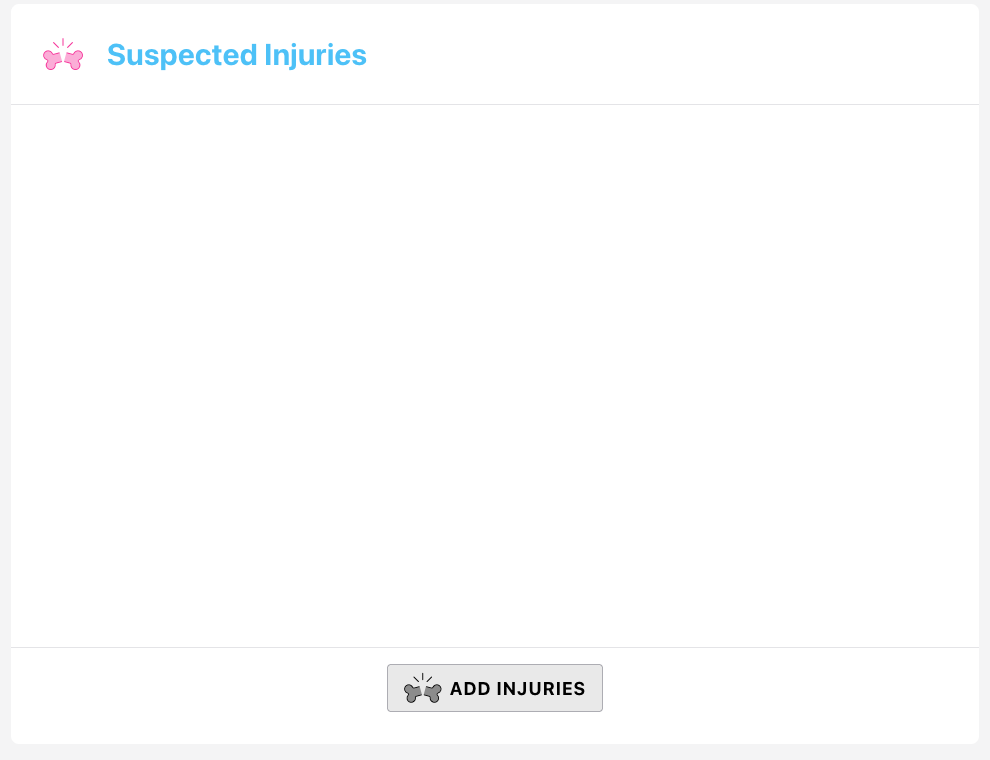
- Tap Add Injuries.
- Select the Injury from the searchable dropdown — injuries are listed in the format Region — Category — Specific (e.g. Lower Limb — Fracture — Tibia).
- Optionally select Side (Left or Right).
- Tap Save or Save & Close.
You can edit, duplicate, or delete any injury from the table using the action buttons.
Drugs
Records medications given to the patient. Also provides fields for the patient's drug history and known allergies.
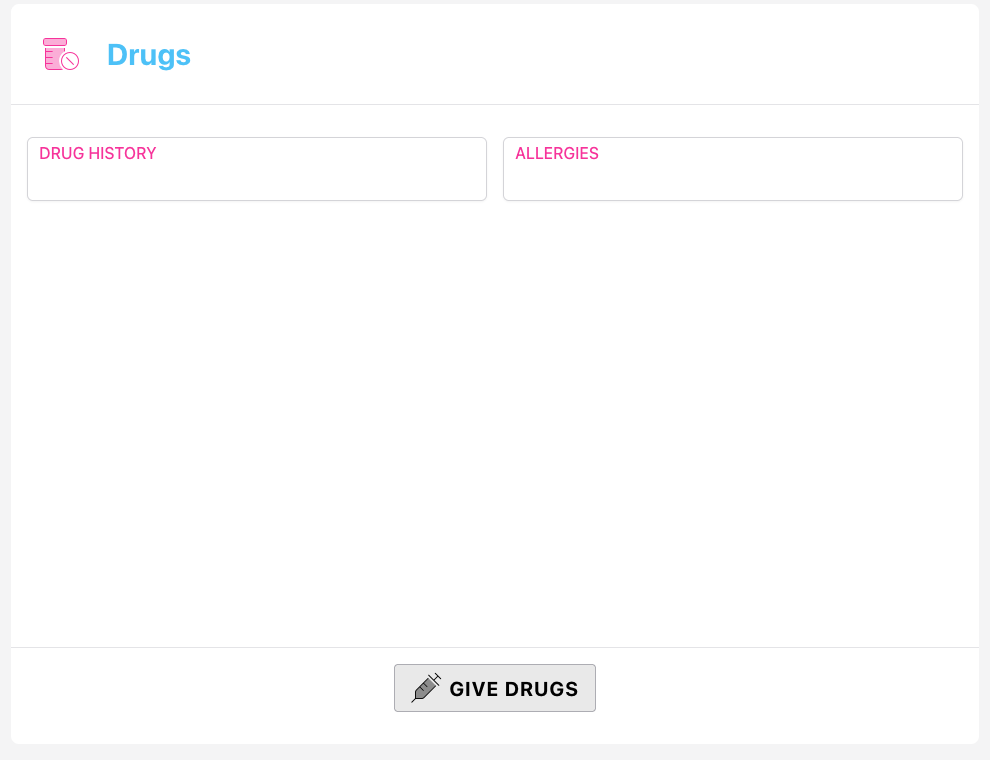
Drug History and Allergies are free-text fields at the top of the panel — fill these in early so they're visible throughout the record.
Recording a Drug Administration
- Tap Give Drugs.
- A slide-out drawer opens.
- Fill in the fields:
| Field | Notes |
|---|---|
| Time | Tap the clock icon to set to now, or select a specific time |
| Drug | Select from your team's drug list (searchable) |
| Dose | Numeric value |
| Unit | Select from: g, mg, mcg, ml, l/min, units, IU |
| Route | Select from: oral, intravenous, intramuscular, intraosseous, inhaler, nebuliser, mask, non-rebreath mask, venturi mask, intranasal, subcutaneous, rectal, topical |
| User | The crew member who administered the drug (defaults to you) |
| Note | Optional free-text note |
- Tap Save to record the drug and immediately start a new entry, or Save & Close to finish.
Time, Drug, Dose, Unit, and Route are all required. The form won't save until these are filled.
Each drug entry in the table shows the time, drug name, dose, unit, route, and the crew member who administered it. Use the edit, duplicate, and delete buttons to manage entries.
Interventions
Records clinical interventions performed on the patient, using your team's intervention list.
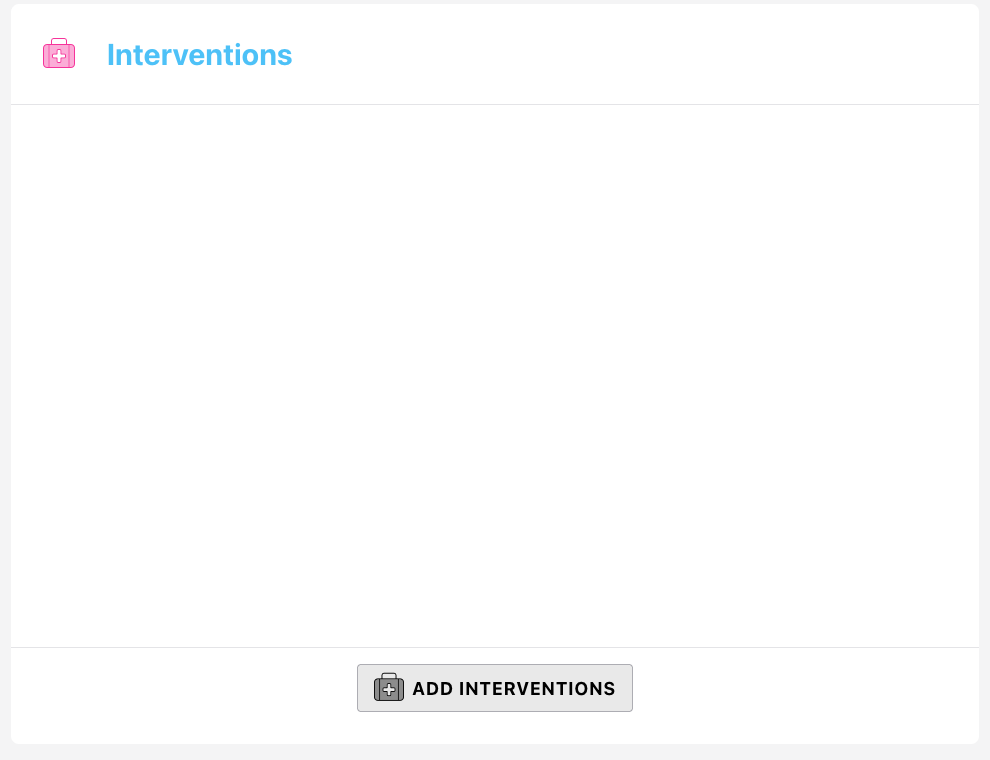
- Tap Add Interventions.
- Select the Intervention from the searchable dropdown.
- Set the Time — tap the clock icon for now, or pick a specific time.
- Optionally set Side (Left or Right) for lateralised interventions.
- Optionally set Performed by to record which crew member carried out the intervention.
- Add any Notes (maximum 255 characters).
- Tap Save or Save & Close.
Time and Intervention are required.
Outcome
Records what happened to the patient at the end of the contact. This panel also contains a pre-generated ATMIST summary card based on the data you've entered elsewhere in the record.
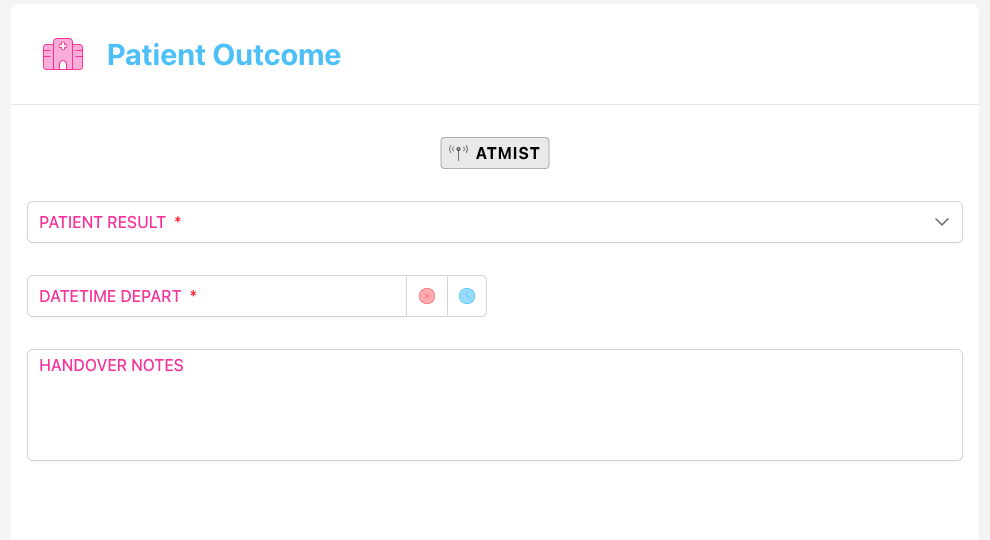
Core fields:
| Field | Appears when |
|---|---|
| Patient Result | Always visible |
| Patient Sub Result | Configurable — may not appear on your team's form |
| Hospital | Patient Result contains "hospital" |
| Leave Scene Time | Always visible (unless patient is deceased, depending on config) |
| Pre-Alert Time | Patient Result contains "hospital" |
| Hospital Arrival Time | Patient Result contains "hospital" |
| Handover Time | Patient was handed over or went to hospital |
| Handover To | Patient was handed over or went to hospital |
| Notes | Patient was handed over or went to hospital |
| PLE/ROLE Time | Patient Result contains "deceased" |
| PLE/ROLE By | Patient Result contains "deceased" |
For the Hospital field, the dropdown shows each hospital with an indicator of Emergency Department availability and which specialist services (MTC, Neuro, Cardio, Vascular, MaxFax, ENT, Burns, PPCI, Stroke) are available.
ROLE Form
If the patient outcome is Deceased, a Create ROLE Form button appears. The ROLE (Recognition Of Life Extinct) form is a structured checklist that supports the decision to confirm death. Complete it by working through the three sections — condition unequivocally associated with death, patient pulseless and apnoeic meeting criteria, or following 20 minutes of ALS.
Media
Attach photos and other files to the patient record.
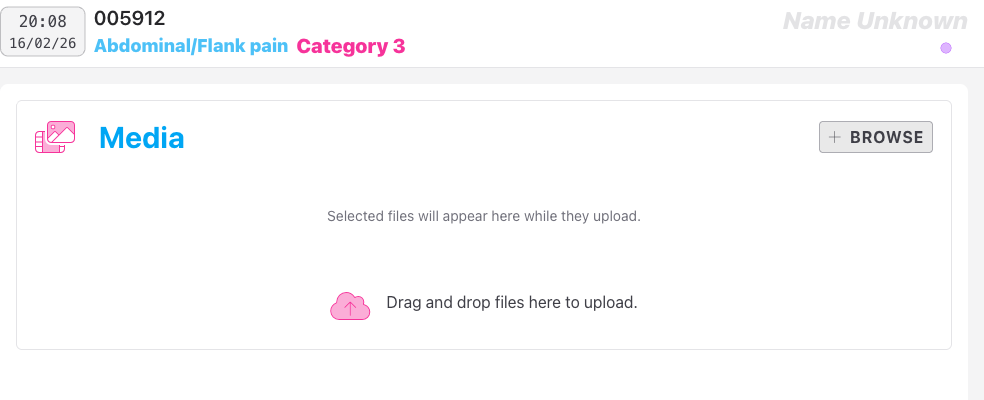
To upload files:
- Tap Browse to open your device's file picker, or drag and drop files directly onto the panel.
- Files begin uploading immediately. A progress bar shows upload status for each file.
- Once uploaded, images appear in a scrollable carousel at the bottom of the panel. Non-image files are shown with a file-type icon.
To download a file: Tap the download icon on the file card.
To delete a file: Tap the trash icon on the file card and confirm.
The app uploads files directly to the server. Media uploads require an active internet connection — they cannot be queued for later sync.
Completing the Job
When you've finished documenting the patient encounter, tap Job Done at the top of the sidebar.
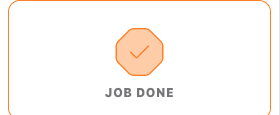
Before marking the job as complete, the app runs a validation check across all panels. If any required fields are missing, it will navigate you directly to the first panel with an error and highlight which fields need attention. The panel button border changes to red to make errors easy to spot.
Once all validation passes, the job is marked as done and you're returned to the home screen. A completed job switches to read-only view.
If you need to delete the patient record entirely — for example, if one was created in error — tap Delete Patient at the bottom of the sidebar. You'll be asked to confirm. This cannot be undone.
Tips & Best Practices
- Document in real time where possible. The record is more accurate when filled in during patient contact rather than reconstructed afterwards.
- Use the GCS shortcuts. The GCS 3 and GCS 15 quick-set buttons in both Primary Survey and Observations save time during assessment.
- Duplicate observations. If you're taking frequent repeat observations, use the duplicate button on the previous entry rather than starting from scratch. Just update the fields that have changed.
- Check panel badges before Job Done. Red-bordered panels mean required fields are missing. Green-bordered panels have data but still have outstanding requirements. Resolve these before you mark the job complete.
- Fill in Drug History and Allergies early. They're at the top of the Drugs panel and are easy to miss if you go straight to recording administered drugs.
- The Obs Chart needs at least two observations. The chart panel only appears once a second observation has been recorded.
Troubleshooting
The Job Done button sends me back to a panel instead of completing the job. At least one required field is missing. The app navigates you to the first panel that has a validation error. Look for the red-bordered panel in the sidebar and complete the highlighted fields.
A panel I expect to see isn't showing in the sidebar. Some panels are hidden by your team's form configuration, or are only available on certain plan levels. If you believe a panel should be visible, contact your team administrator.
The Obs Chart panel isn't visible. The chart only appears once you have two or more observations recorded. Add a second observation and it will appear.
I can't upload files to the Media panel. Media uploads require an active internet connection. Check your connection and try again. If you're on a slow connection, give the upload time to complete — the progress bar will show you where it is.
I recorded a drug or intervention with the wrong time. Tap the edit (pencil) icon on the entry in the table. The entry will load into the drawer for editing. Correct the time and tap Save.
I need to record the same drug a second time with a different time. Use the duplicate (copy) icon on the existing entry. It will open the drawer pre-filled with the same details, with the time set to now. Adjust any fields as needed and save.
- Adding a Job — how to create the job and add a patient before filling in the clinical record
- Completing and Handing Over a Job — using the ATMIST summary and recording the patient outcome at the end of the call
- Marking a Job as Done — closing the record once documentation is complete